Making the most of a short(ish) trip
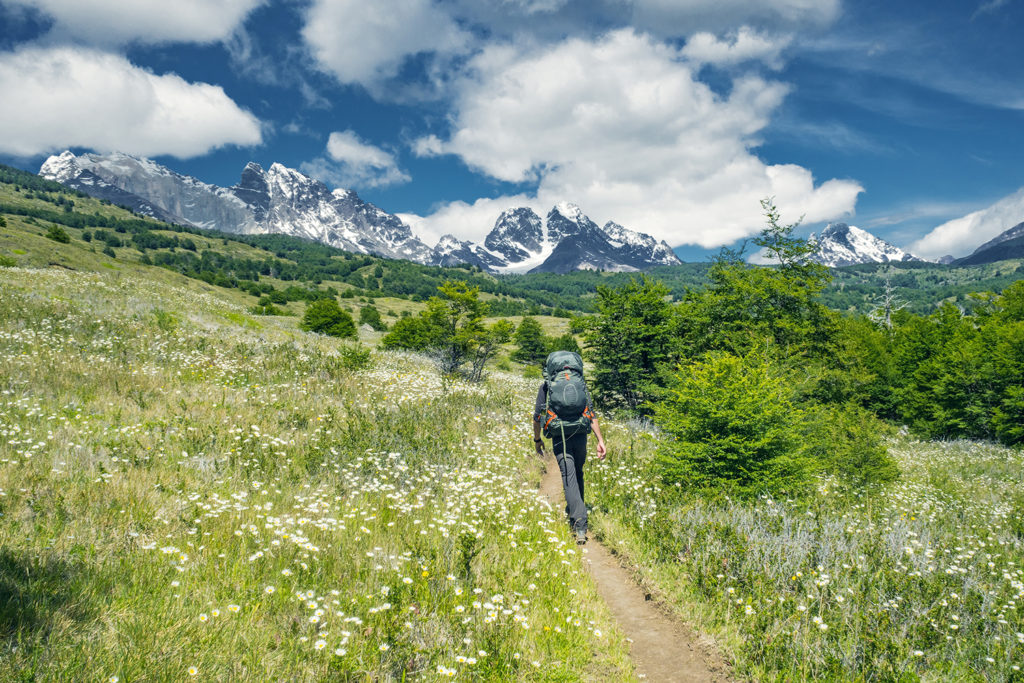
When Brice and I decided our next big trip would be in Patagonia, right away we agreed that we needed to check out what this whole Torres del Paine business was all about. Since the park is in the southern portion of Patagonia, we soon figured we would end our journey there.
A quick internet research landed us on Alan’s blog, and soon I had ingested his extensive advice for doing the full “O” circuit, the trek that would take us all the way around and through the Torres del Paine mountain range. Based on his suggestion, we went ahead and booked all of our campsites in advance – and that was probably the smartest planning step we took, as just a few weeks later, the park announced that due to increasing popularity, only hikers with reserved campsites would be allowed to hike the multi-day trails.
Once that part of the trip was locked down, we started to focus on the rest: how to get there and where to start from.
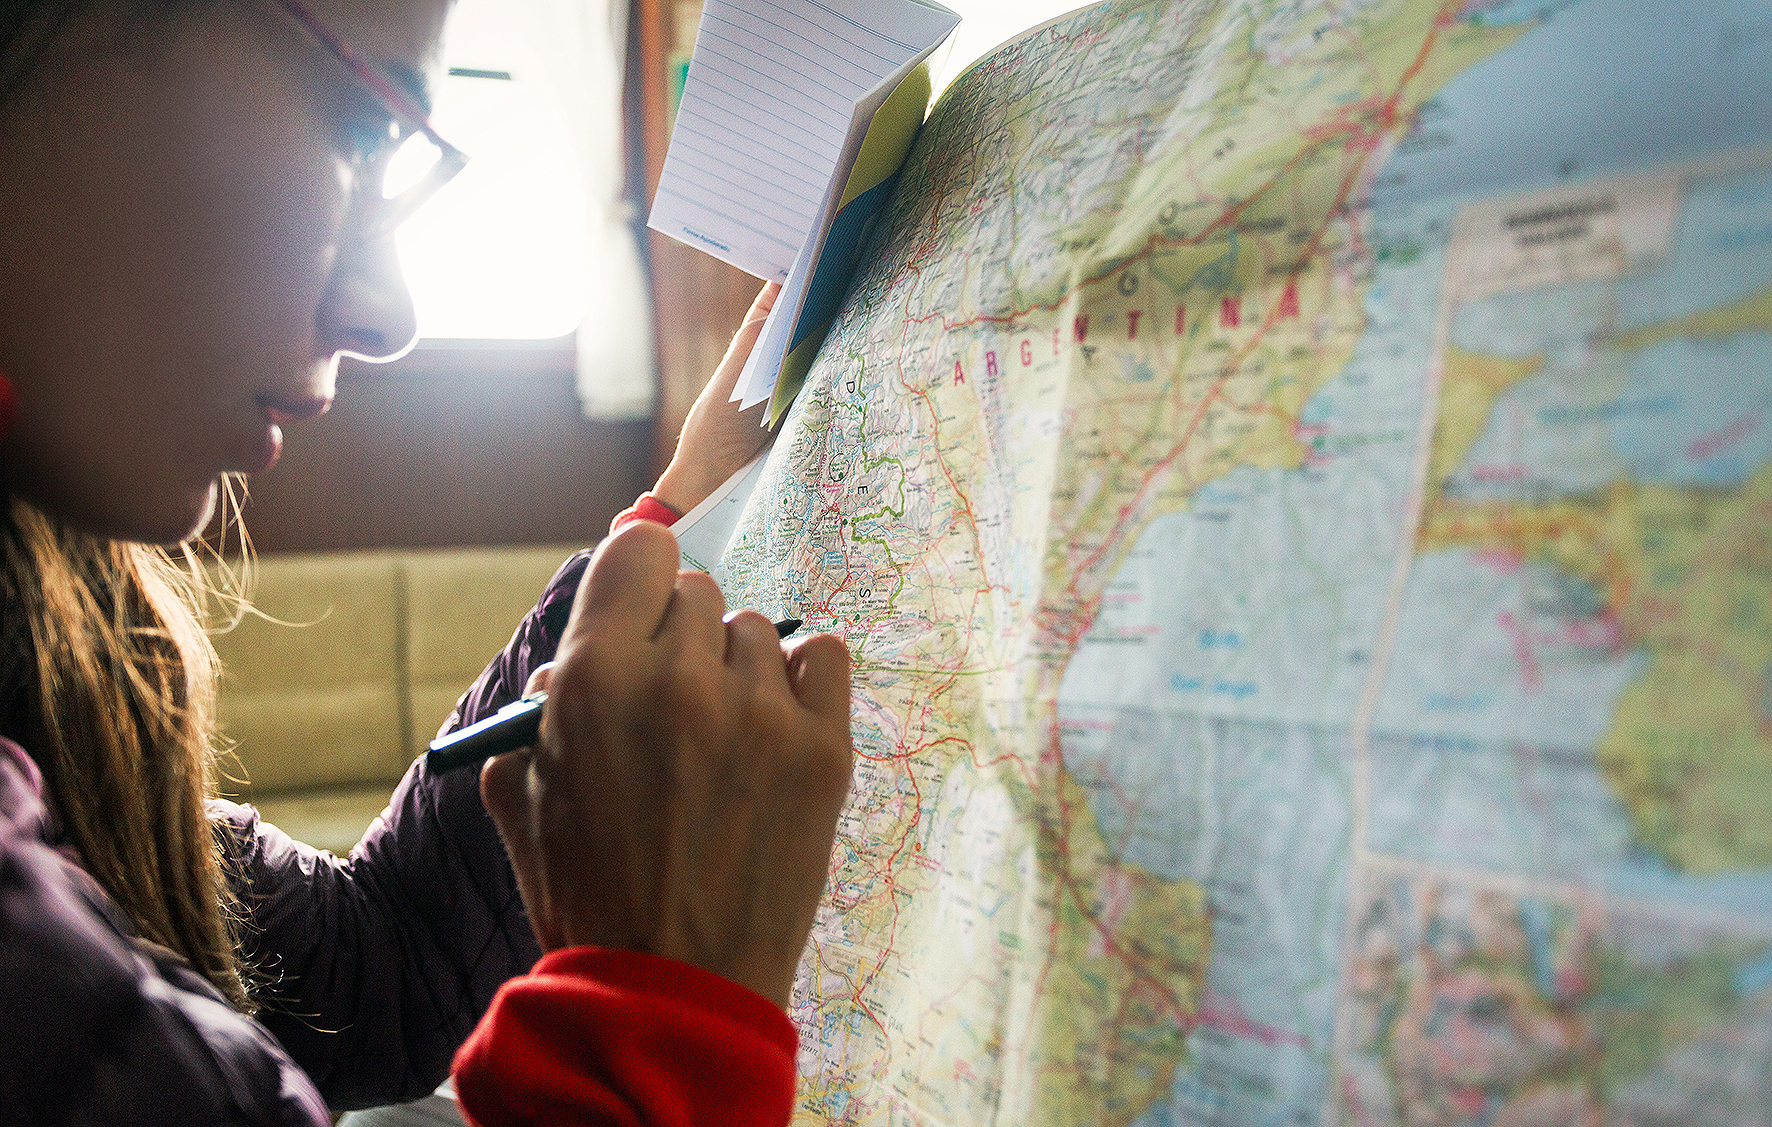
I did a lot of research for this trip – as I tend to do (I’m a planner, what can I say). At first, it was basically to learn more about Patagonia. We’d heard the name of course, and seen documentaries that got us day-dreaming about amazing wild landscapes, but we didn’t really have a clear idea of the geography, the climate, the overall environment we would be immersing ourselves into.
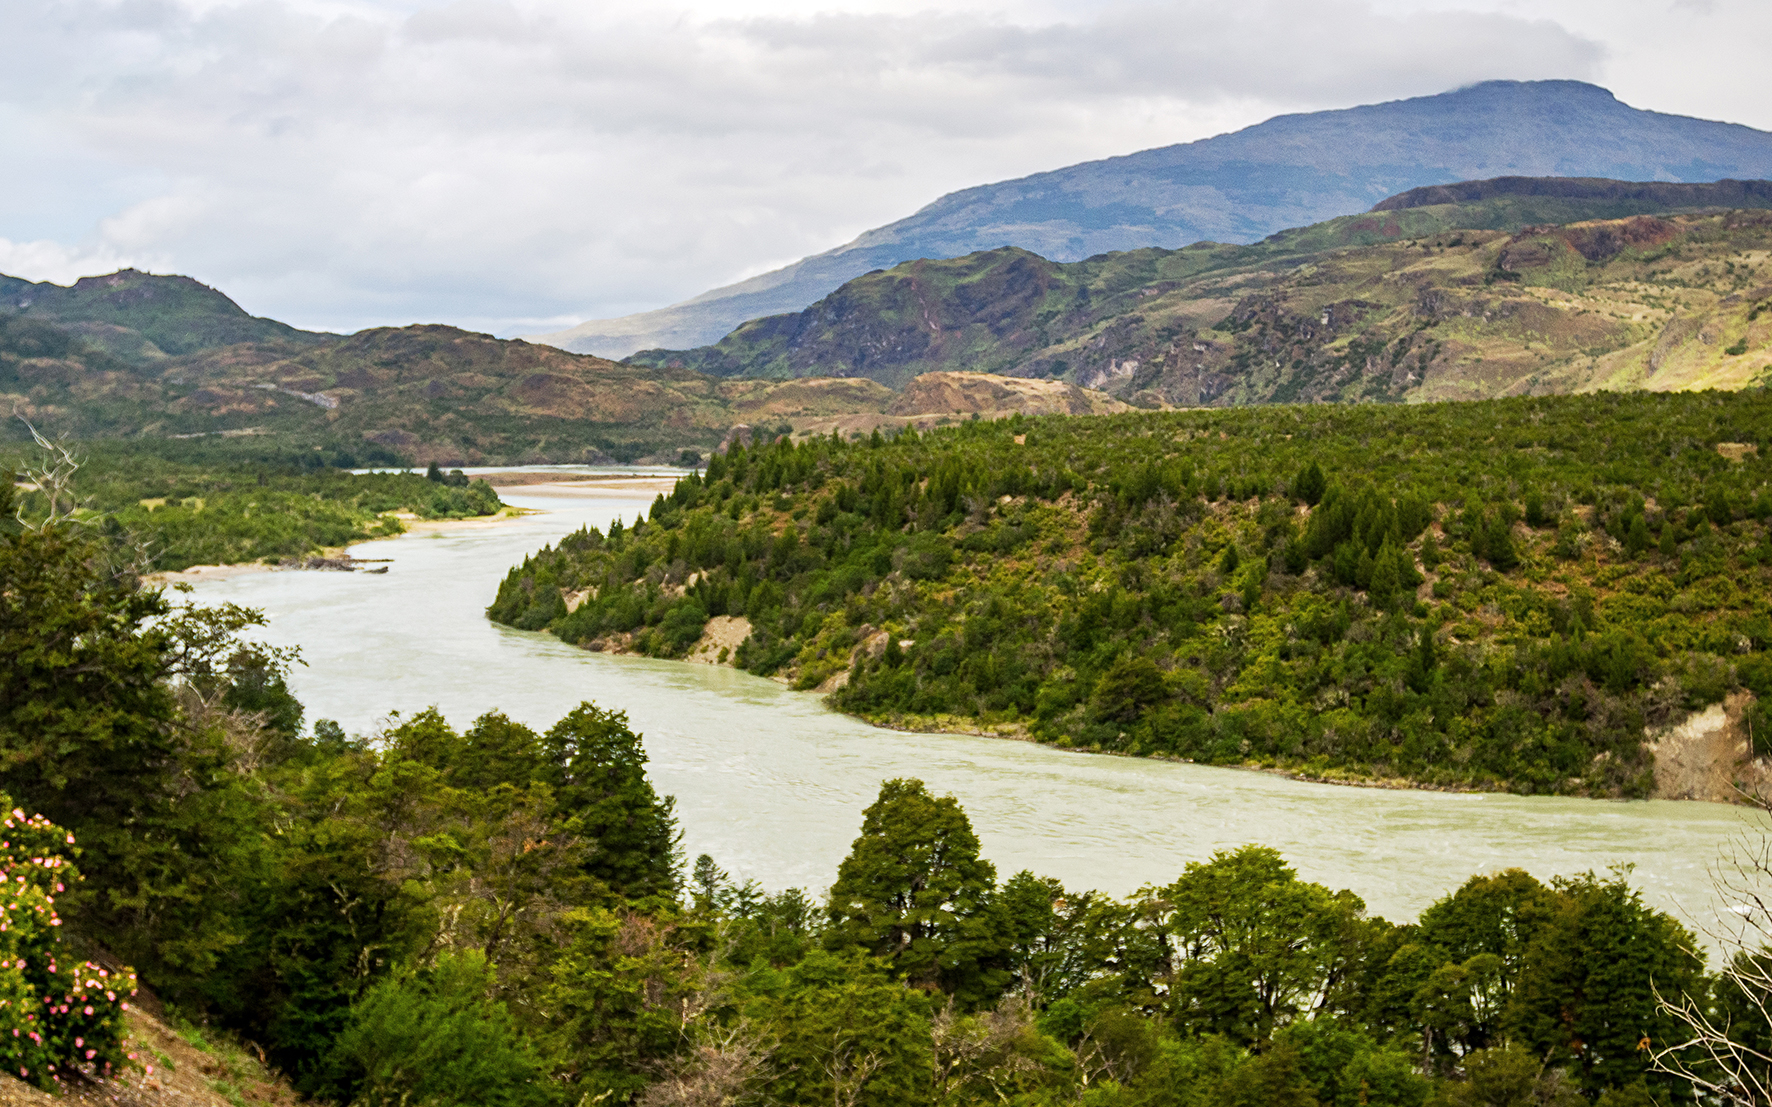
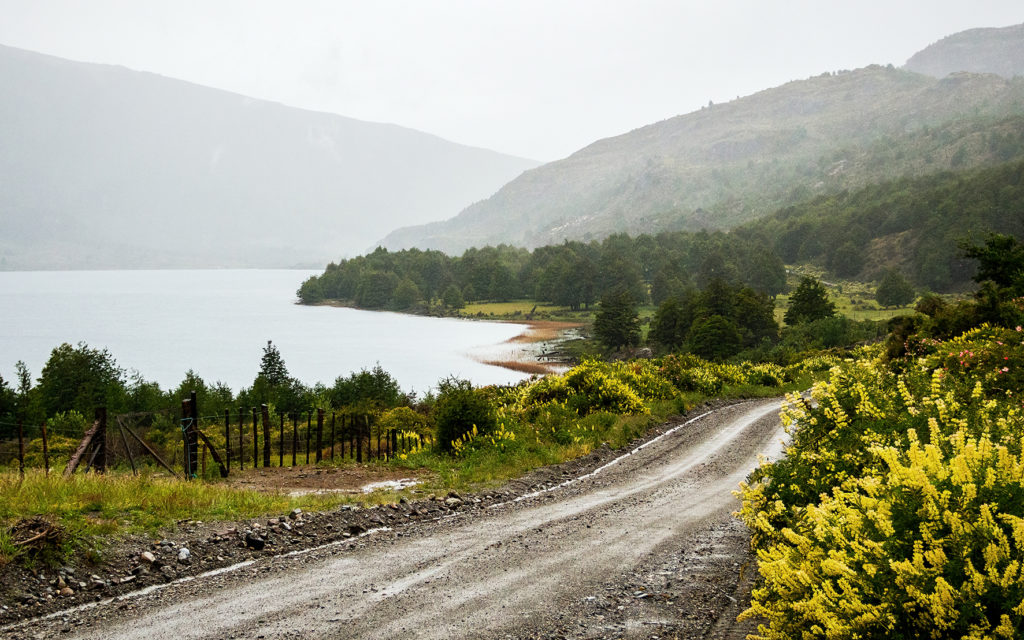
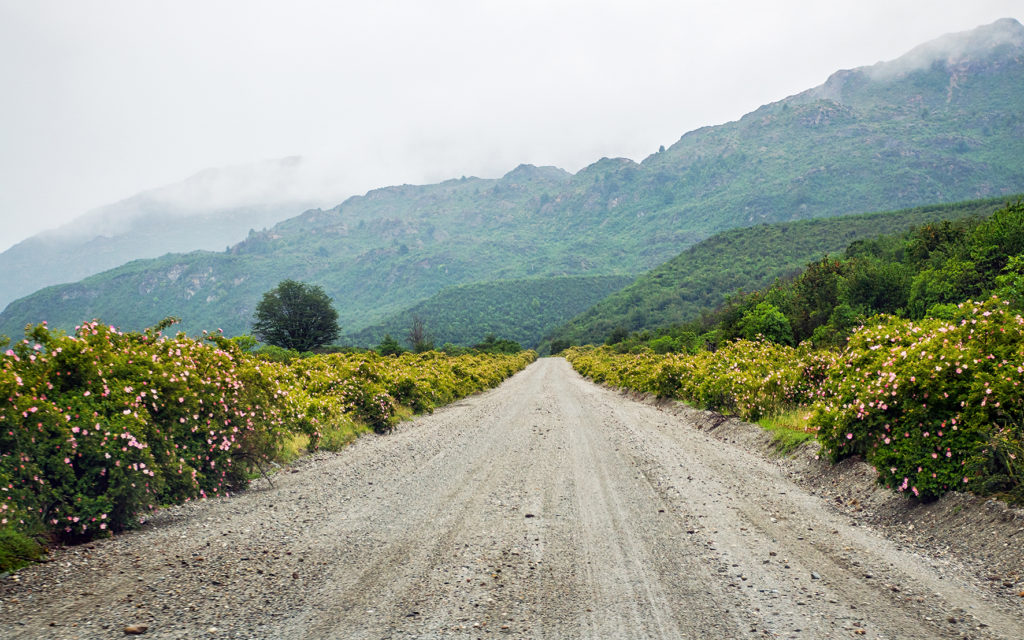
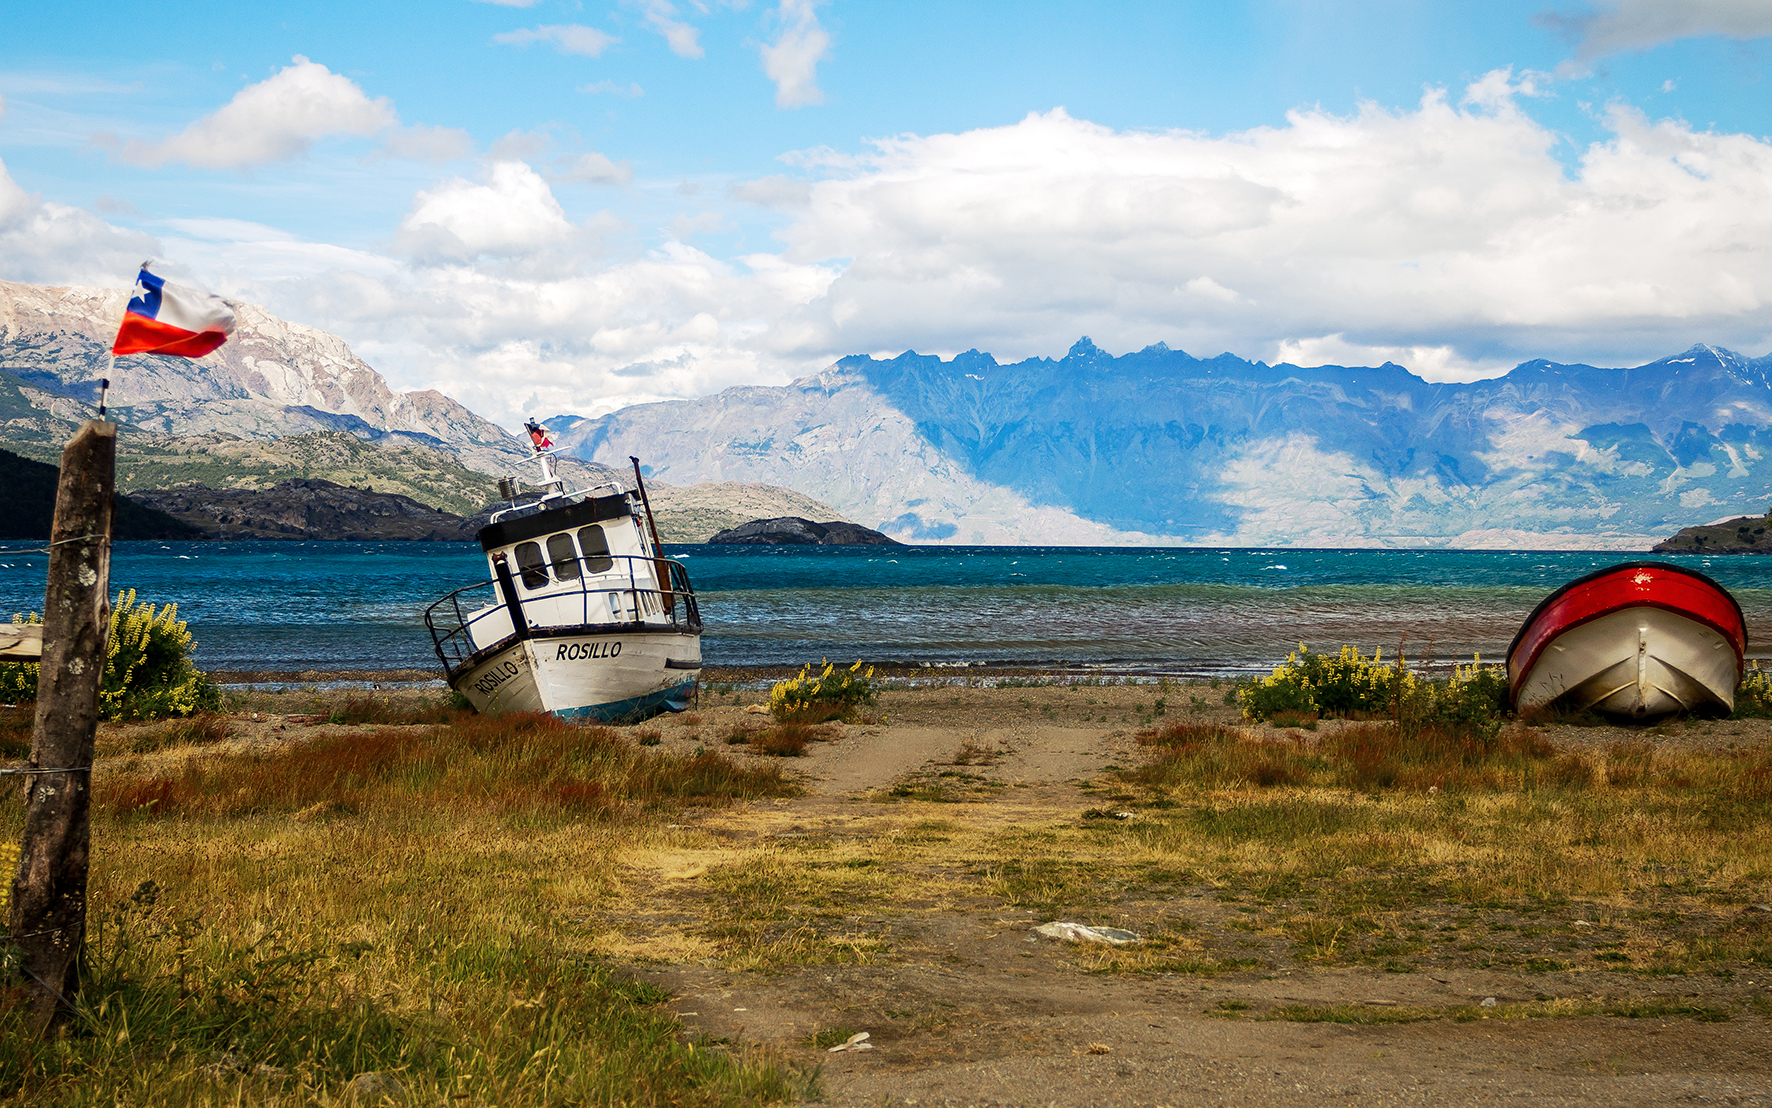
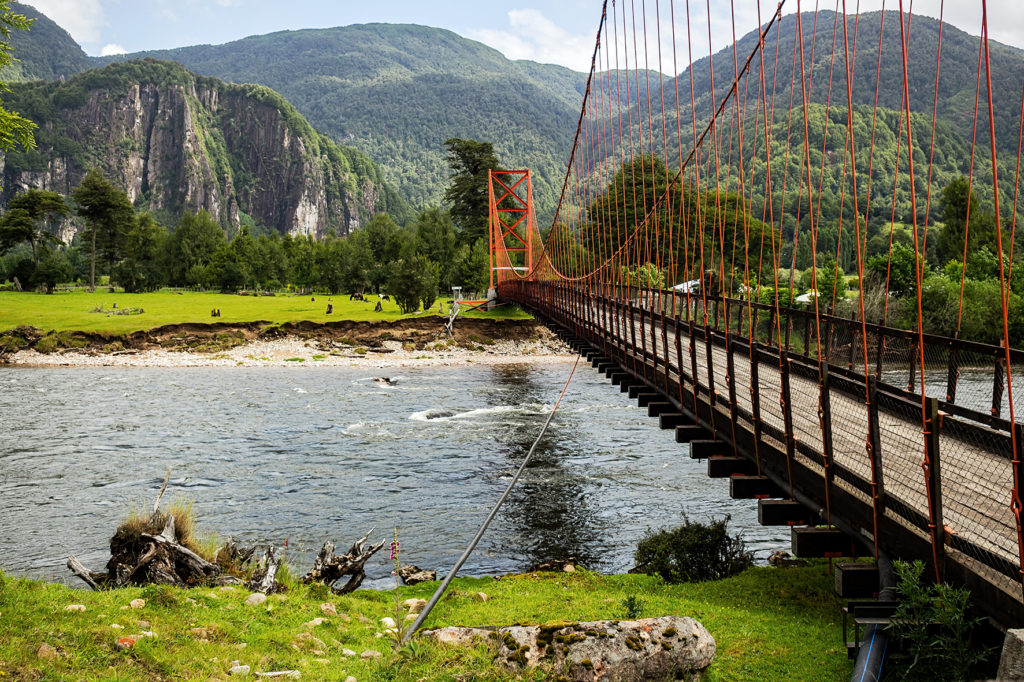
Then I started to read about the challenges it might present for travellers (remote areas, roads in very bad conditions), and how to best approach them. It seemed that there were various ways we could drive across Patagonia, all the way down to Torres del Paine. One way was through Argentina, the other through Chile. Ultimately the Chilean side felt more appealing to us. I can’t remember where/when I first read the name “Carretera Austral” – the main road that spreads North-South through the narrow, southern portion of Chile, but at one point we decided that there was the path we would follow.
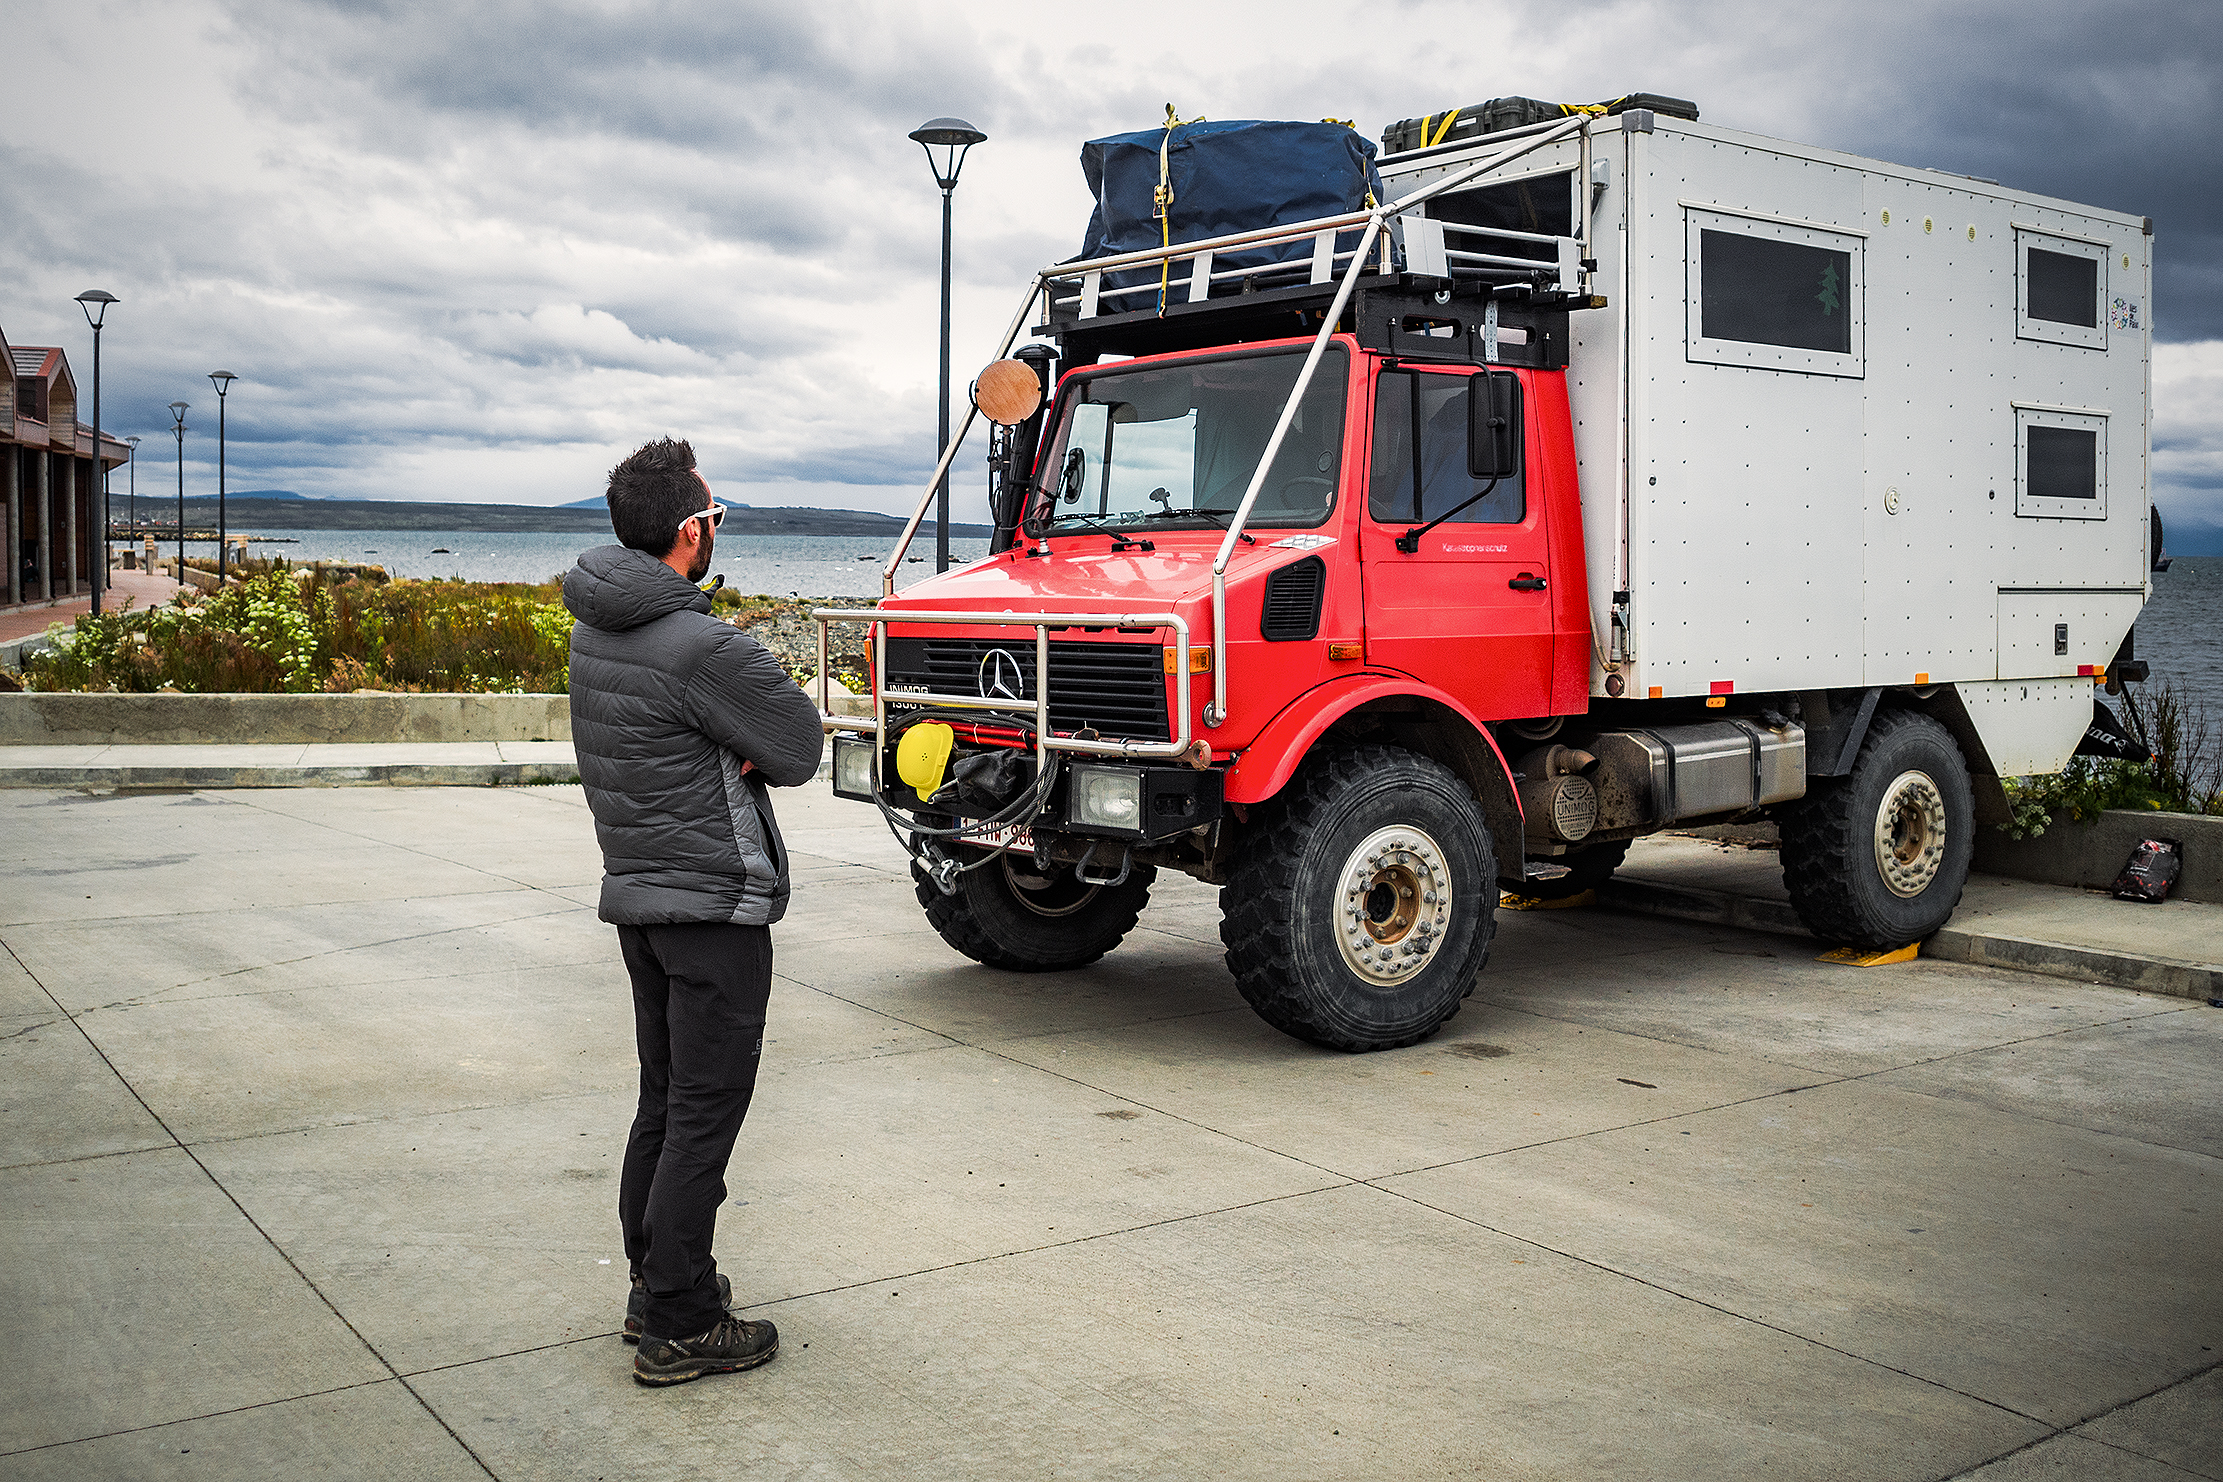
Patagonia is a huge land to explore. Most of the accounts I had read were by Overlanders, long-term travellers who had sometimes driven in vans all the way down from North America. They were on the road for months and had time to take every day as it came, and didn’t have a rigid plan to follow.
As much as I would have loved taking 2-3 months to wander the Carretera north to south and back, there was only so much time we could take off work – and we were fortunate to actually be able to take that much time. With the 6 days (+1 one for buffer) dedicated to the trek in Torres, and another 2-day trek in El Chalten, to get a glimpse of the iconic Fitzroy, we were left with about 12 days to drive along the Careterra.
I read a lot about this iconic road, how long it would take to drive, how bad certain portions of it were and how it affected travel times. And where to stop on the way, what “not to miss”. While planning that portion of the trip, I went back and force between thinking the time we had was way too short, and fearing we wouldn’t be able to “see enough” or we would just be grazing the top of what Patagonia has to offer…and maybe I was putting too much pressure on myself to have an amazing trip and maybe I was over-planning this whole thing. We actually had one car rental company advise us against taking such a trip, arguing it really wasn’t enough time to see a lot and that we would be driving too much. To ease my concerns, I got in contact with Rich and Ash from Desk to Glory, to get an idea of how long they had taken to drive down, and they replied that they only took about a week – not sure if that included the 2 days spent crossing the fjords in the beginning, but it made me feel better about the time we had, so thanks guys!
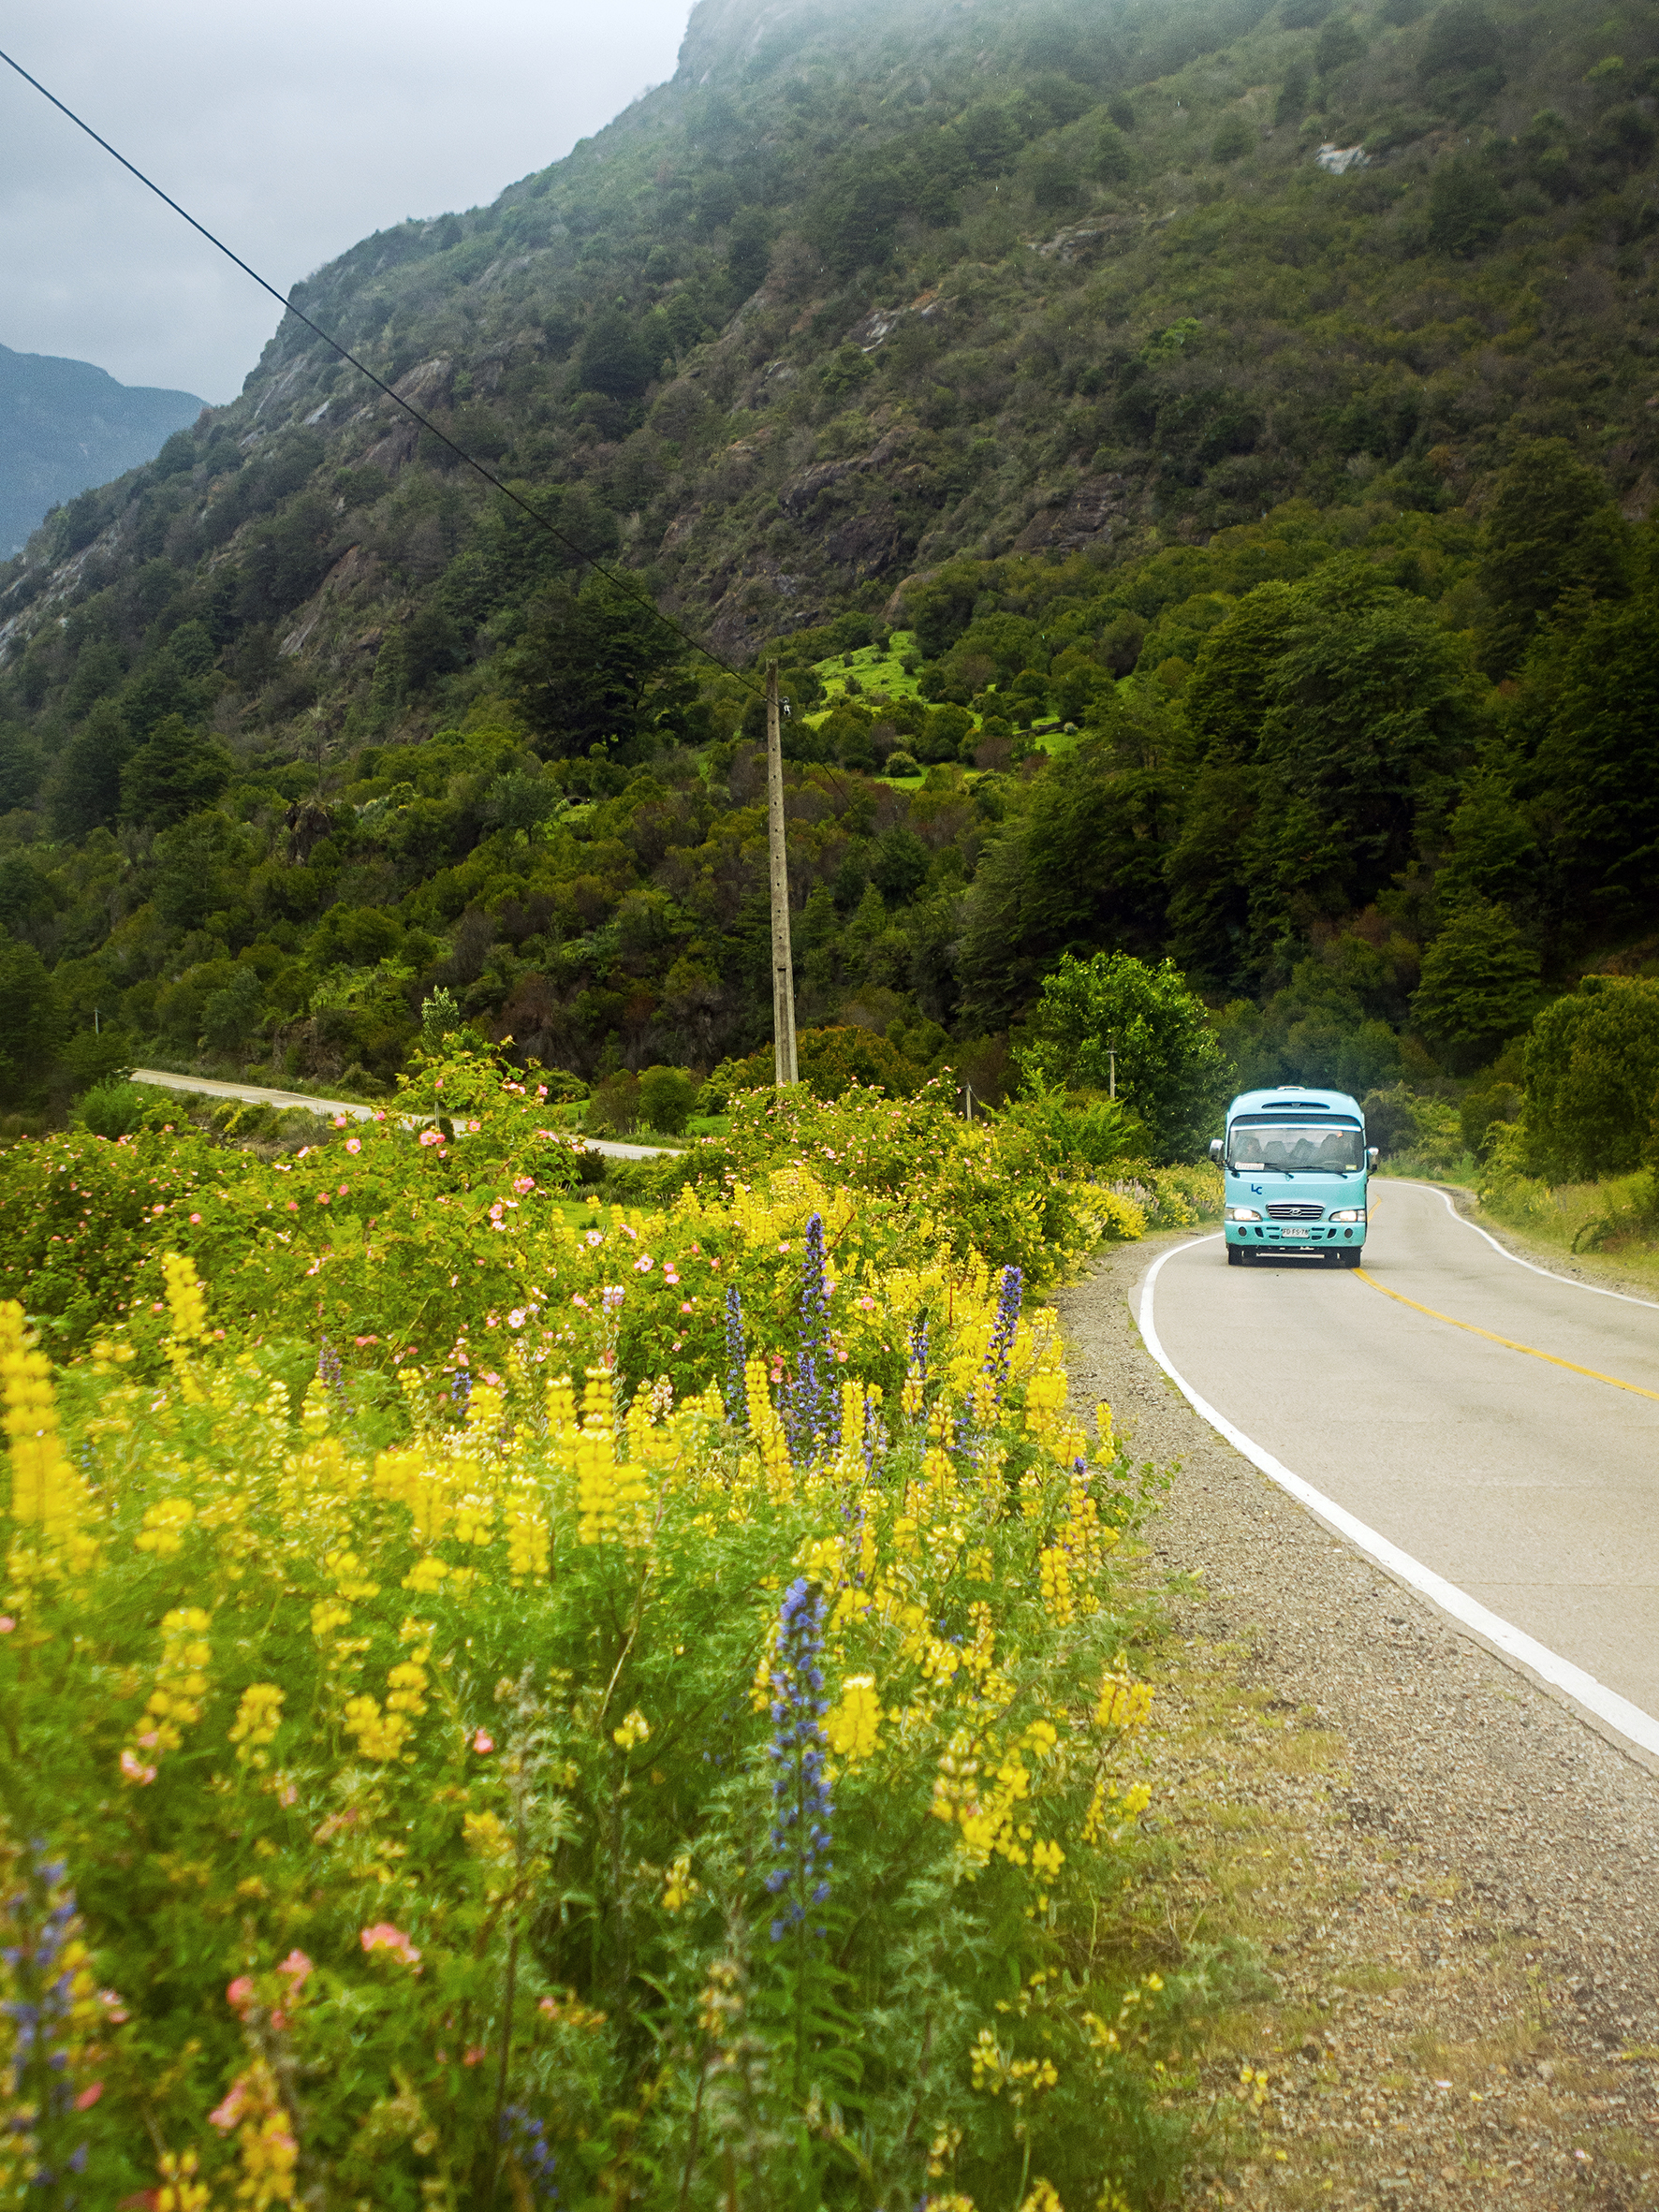
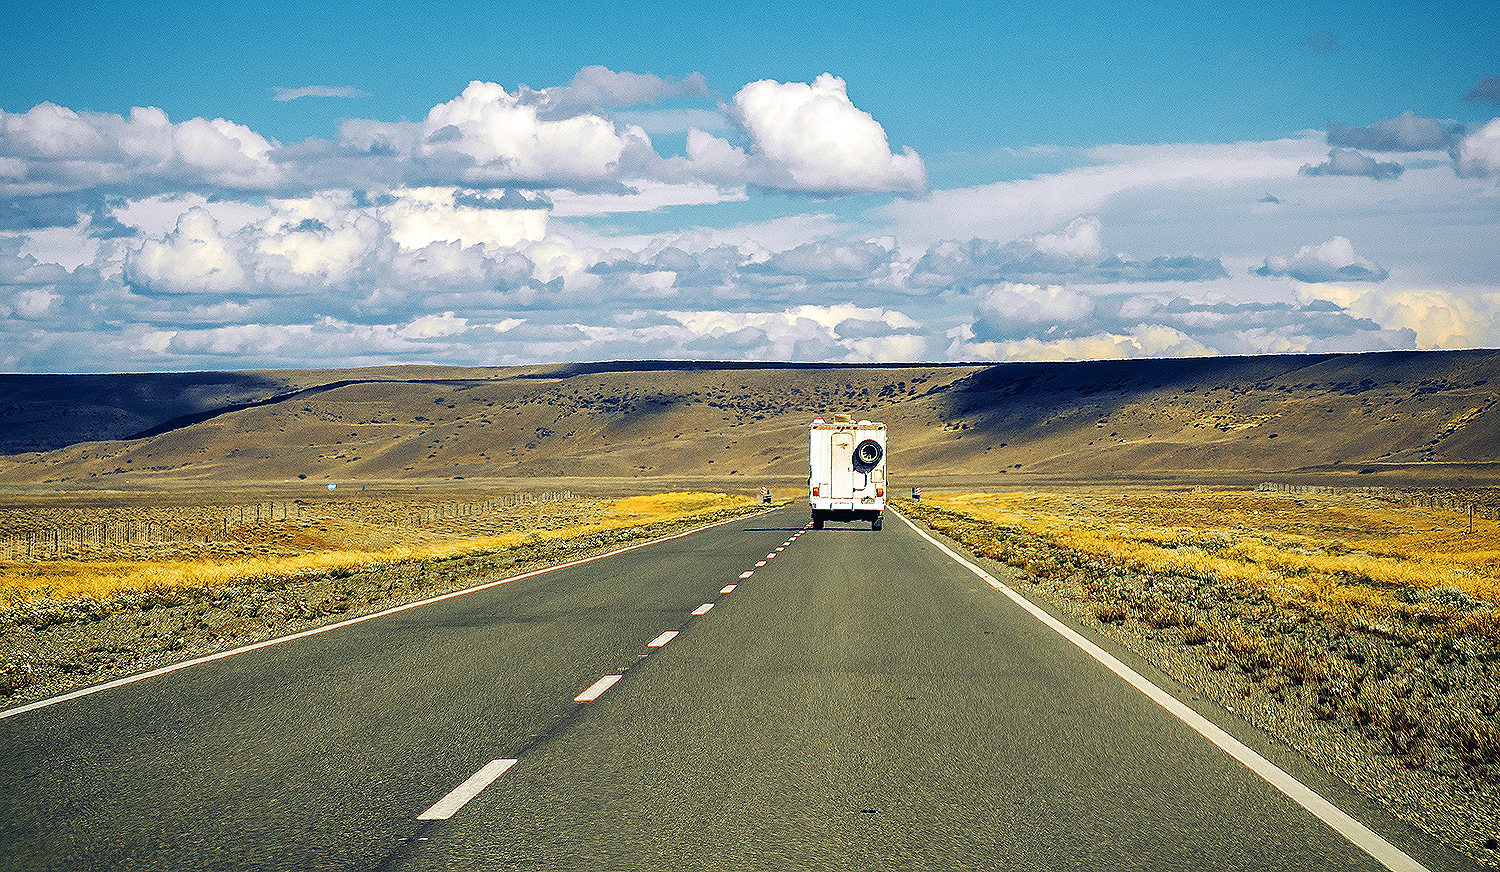
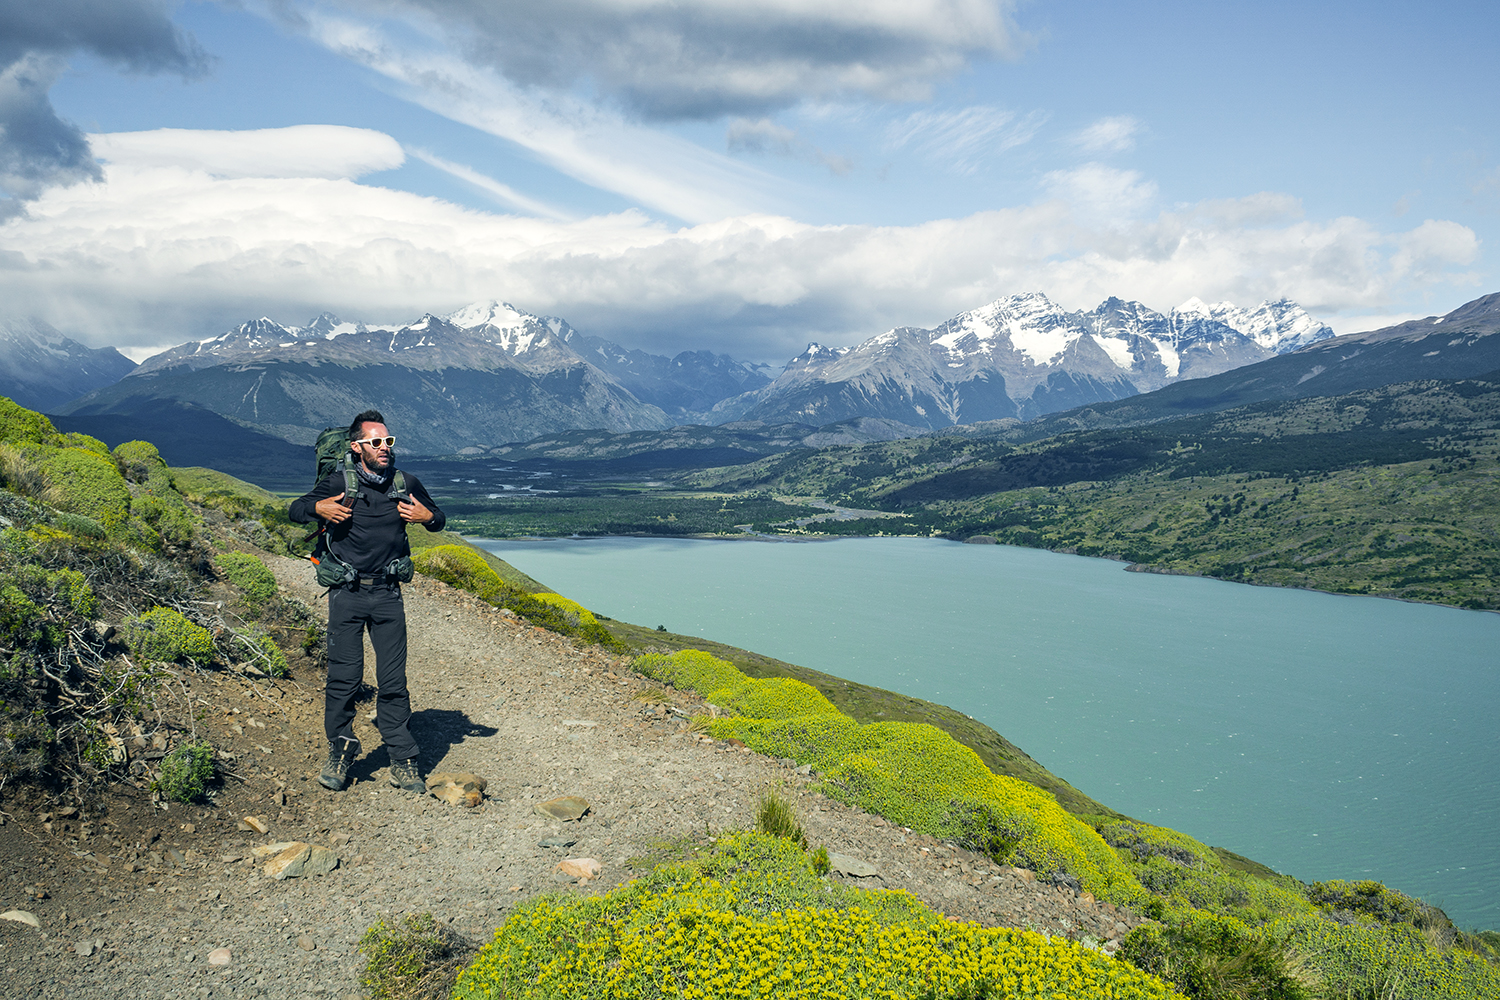
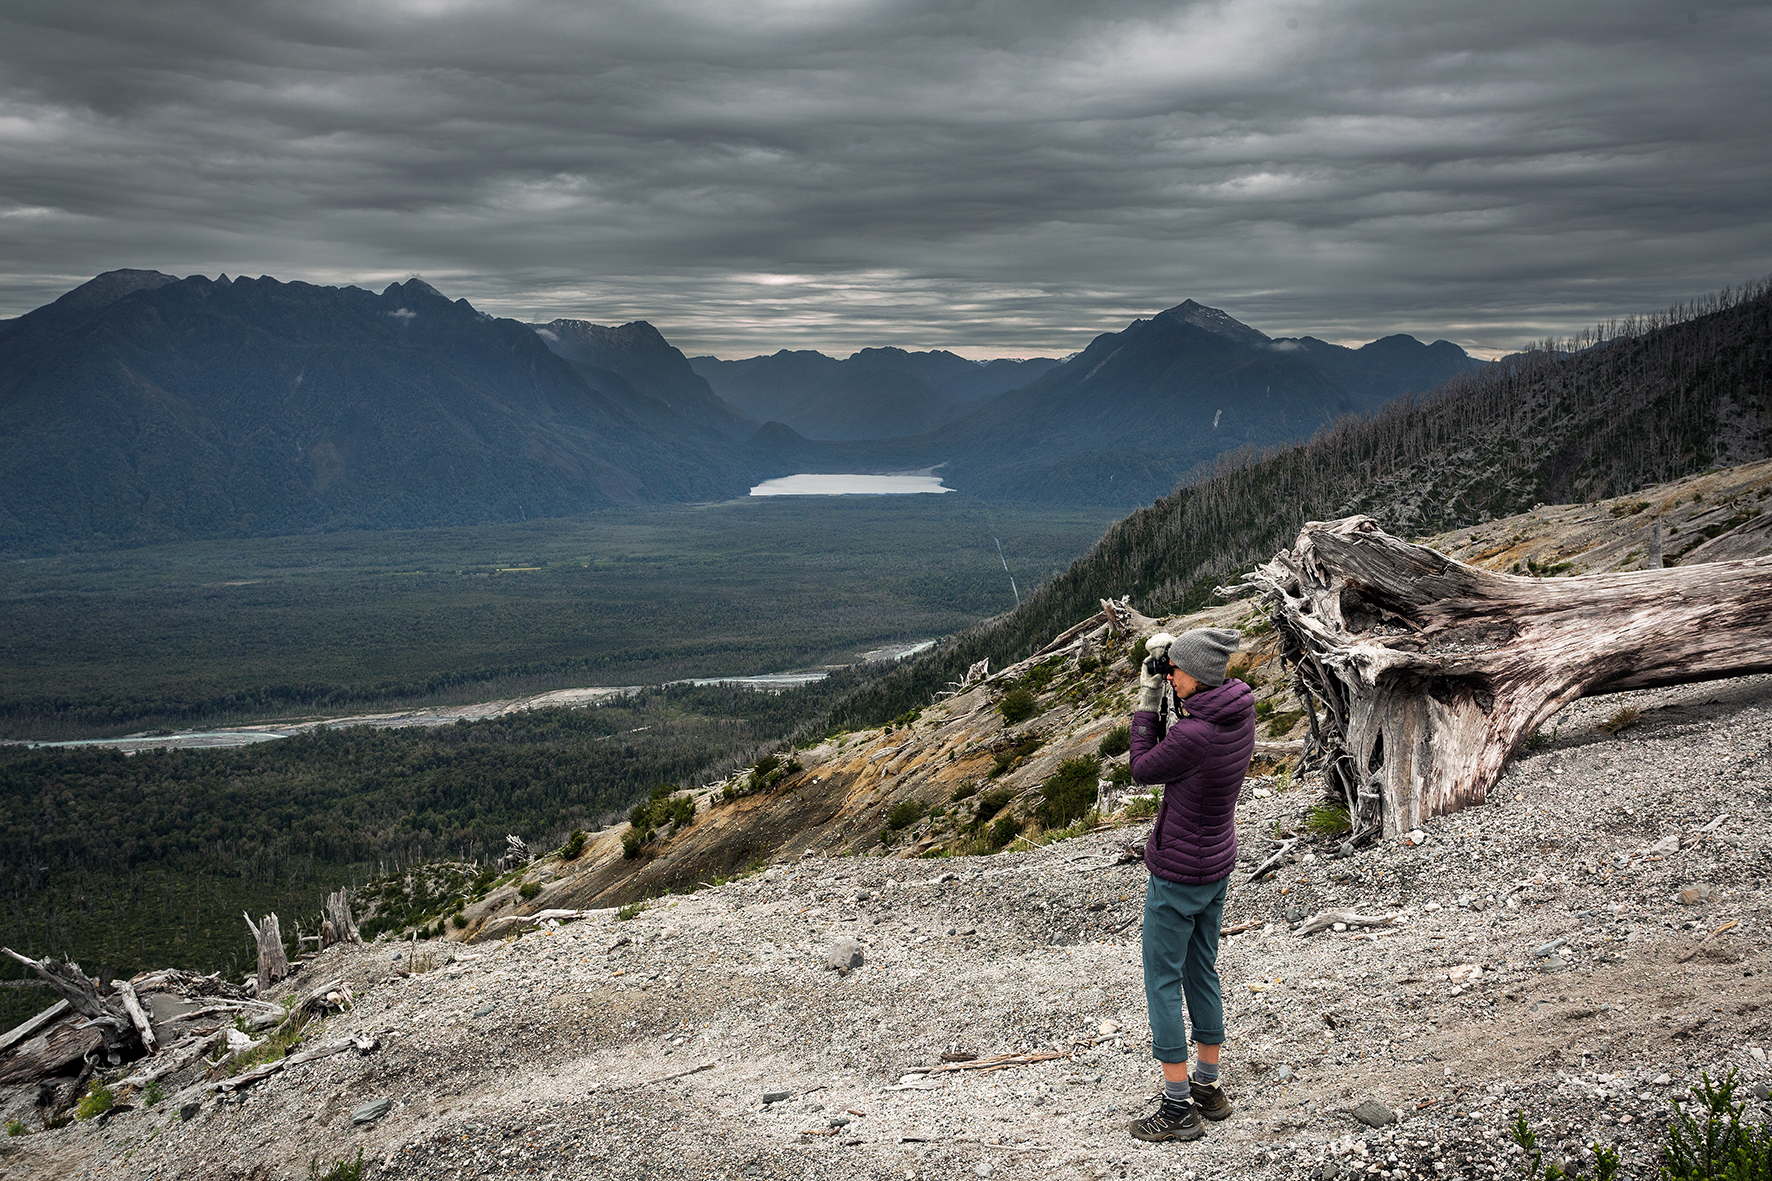
Well guess what. It was short, and it did involve a lot of driving, and we did only get a glimpse of Patagonia. But what a glimpse it was. Sure, there were a couple of stops that I was hoping we could make but weren’t able to, mainly due to weather (and we didn’t have time to wait for it to get better). But even just driving on that road and experiencing the landscape from the passenger seat or just walking out of the car for a few hundred meters, it was so worth it. If I had to choose between only having 12 days to drive 2500km through Patagonia, or not doing it at all, I would still do it the way we did and I wouldn’t change a thing.

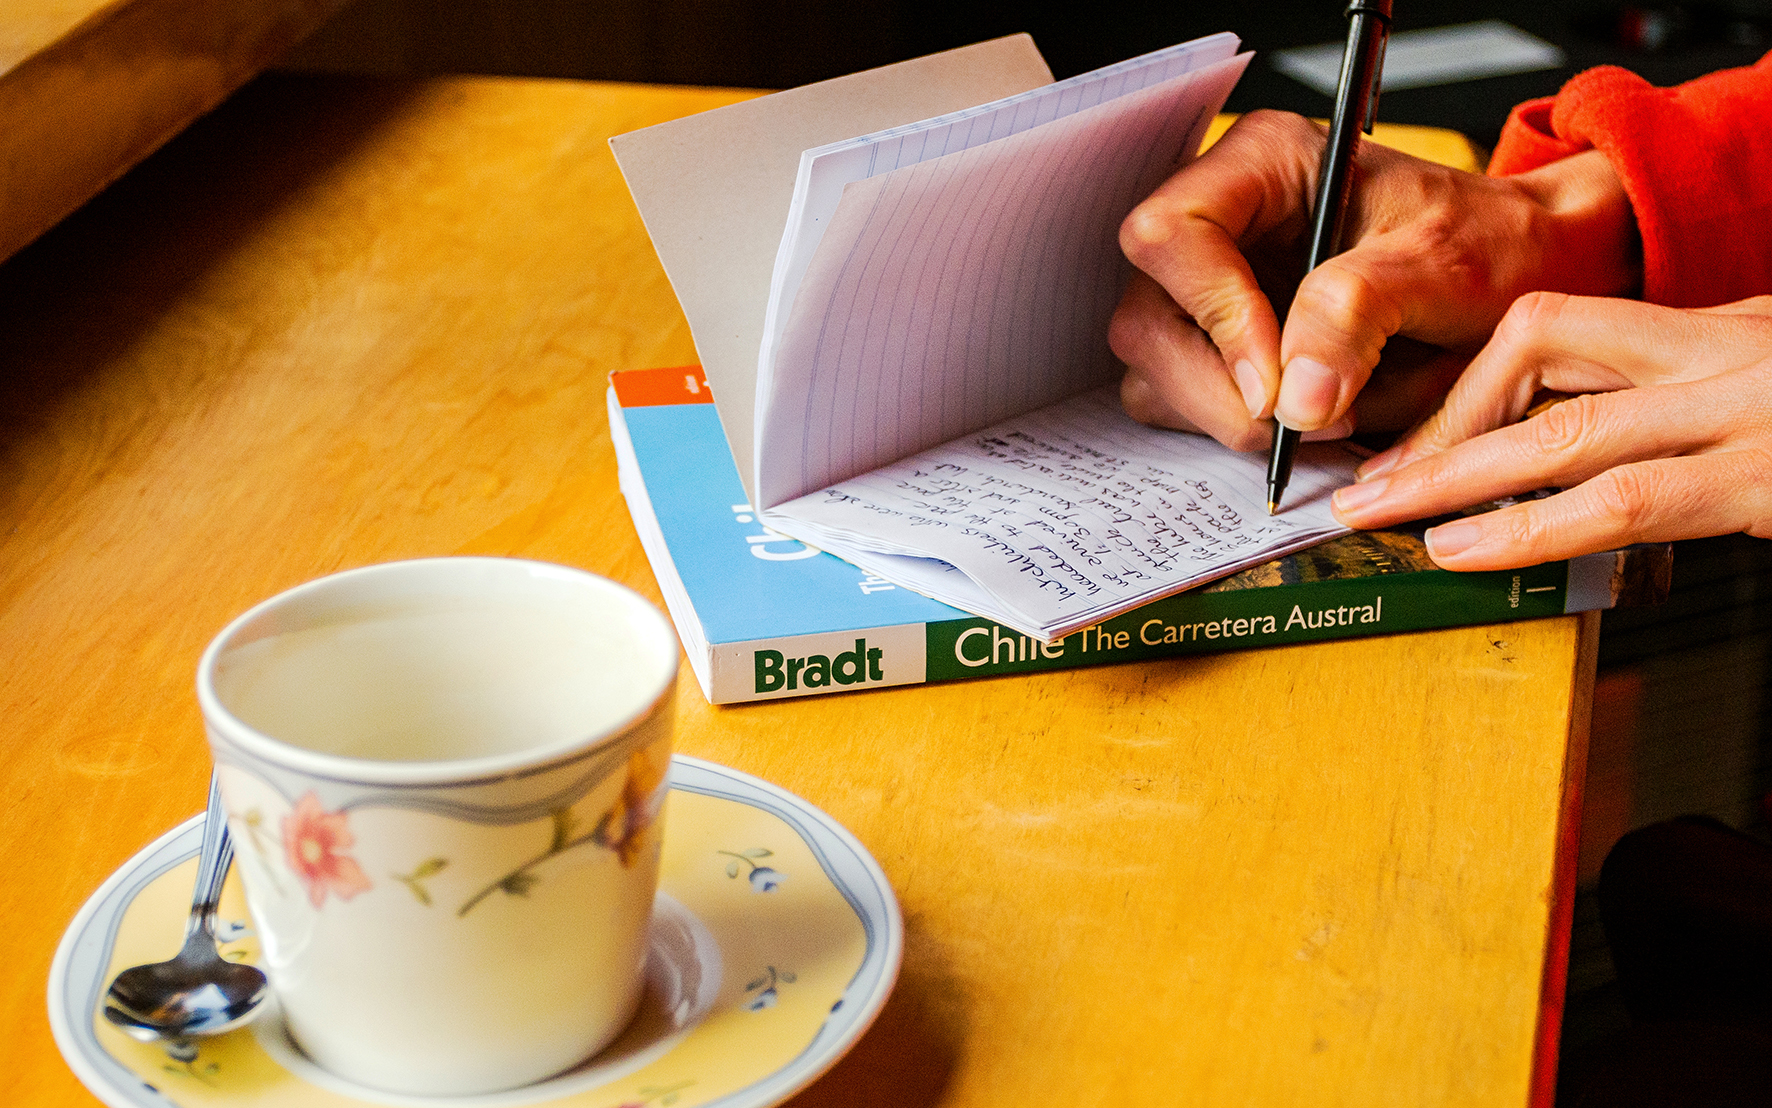
So I slowly gathered bits and pieces of information online and eventually started drawing out an itinerary. We acquired The guide book written about the Careterra, which I would definitely recommend – it was a great source of information including road condition, travel times, and full of little gems of places that could cater to any category of travelers – from people wanting to stay in more comfortable hotels to hitch-hikers willing to “rough it up” (I’d say we probably were somewhere in the middle as far as our traveling style goes).

Getting a better sense of distances, we realized early on that driving all the way from Santiago (where we landed after our Cosat Rica adventure) wasn’t realistic. The Careterra “officially” starts in Puerto Montt, about 1200km south of the capital city. The bus system in Chile is actually very developed, being the main mode of long-distance transportation, and we easily found a bus company that offered overnight rides from Santiago to Puerto Montt (we’ve found in the past that traveling overnight is one of the best ways to cover long distance without wasting day time).

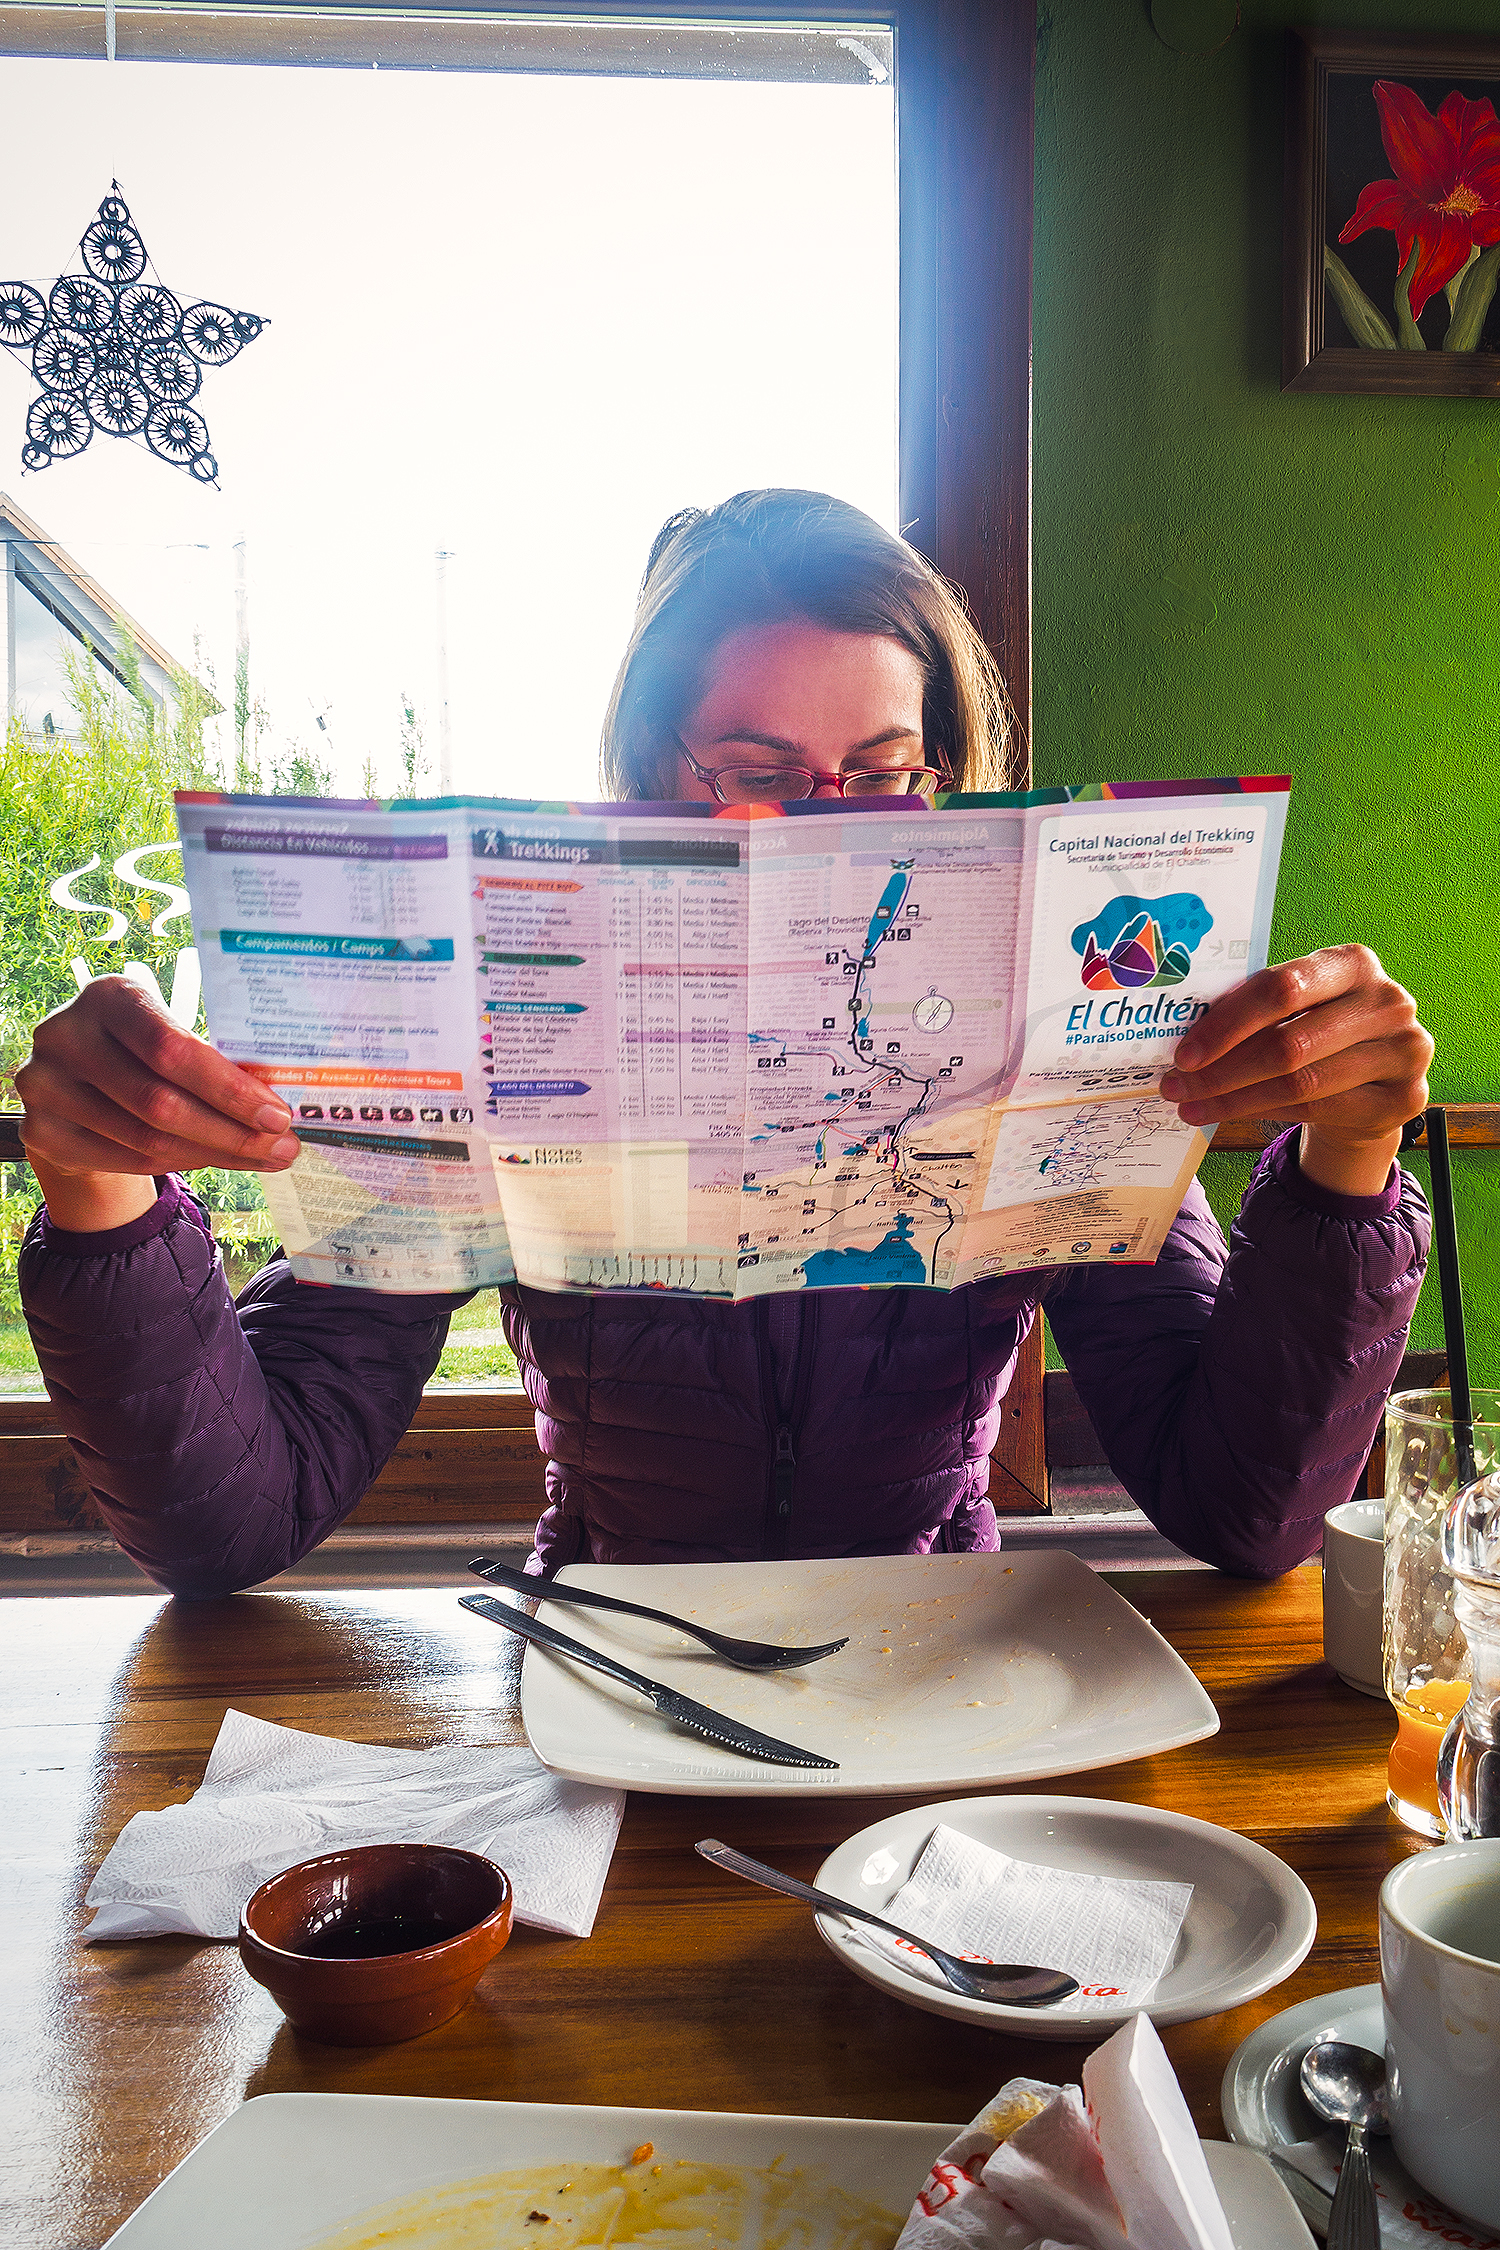
Aside from “how much are we ok to drive every day” (and by “we” I mean Brice, as he did all the driving), the other thing we also had to factor in was “how early are we willing to get up everyday”. Some people like to be up with the sun and it sounds like nowadays the trend is all about “chasing sunrise” and being up at dawn to make the most of the day. Well…let’s be honest here…we’re not those people. We’re not early risers. We’ll set our alarm for 7am, but most likely will hit snooze for at least 1/2 hour. And we like to take our time in the morning. We like to get up and make coffee and have breakfast and pack up the tent and make sure we’re not leaving anything behind. And rushing to get through this process to get an extra ½ hour on the road really doesn’t feel worth it to us. Neither does getting up with the sun, which in the southern-most portion of our journey was rising at 4:30am – but went down way after 10pm, giving us ample time to enjoy the daylight long into the evening.
So surely we could have packed a bit more into each day by being up at 5am and out by 6, but enjoying our mornings and taking our time in an otherwise short-ish timeline was part of what we loved so much about being on the road.
Transportation
Now let me tell you a little about the car we rented. This was to some extent, the most involved part of planning this whole trip.
The challenge we ran into was that we intended to drive from Puerto Montt to Puerto Natales (about 2500km give or take, with detours) but one way only. Which meant we were facing a pretty significant drop-off fee attached to our rental cost.
When trying to book through big box rentals (Avis, Hetz), most companies didn’t even offer a one way option. And if they did, rentals for two weeks would cost nearly $3000 dollars (US). We thought about taking buses instead, but soon realized that we would be sacrificing flexibility for money. And being dependent on bus routes and schedules really wasn’t the way we wanted to travel, especially on such a short time frame.

I would say if you’re going for more than a month, with no definite itinerary and you want to travel on the cheap, then buses and hitch-hiking would certainly be the way to go. In our case, we only had about 12 days on the road and we wanted to be able to stop wherever we wanted, whenever we wanted.
So when it became clear that we needed to rent a car, I started looking for the cheapest option. I found a website called Interpatagonia, which listed pretty much every rental company, big and small, along the Carretera Austral. So one rainy Sunday afternoon, I emailed 30 or 40 of these companies, in 3 different cities in the northern portion of Patagonia, and then waited for replies.
I only received about 7 or 8 replies. Most of them gave me a pretty detailed breakdown of the cost, depending on the type of vehicle we wanted. All of them were still around $2800 minimum for a sedan, and more like $3500 for a 4-wheel drive.
One company however emailed back a short response, along the line of “for your rental of 10 days, I can rent you a Sedan (Samsung SM3 or similar) for $1900 dollars”. I thought “Ah, now we’re talking”. I emailed him a couple more questions, asking about other types of vehicles and a longer rental. He didn’t have trucks or SUVs so we settled on a sedan, $2100 for 12 days, including insurance, paperwork to take the car across the border to Argentina (very important!), and road-side assistance (whatever that meant). I had to have a few exchanges back and forth with him as he was mainly giving me one-liner answers, without really providing a full breakdown like other companies had. I did look up the name of his company and found a fairly legit website – mainly specializing in boat tours around Puerto Montt but also offering rental services. I even looked him up on Yelp, and while the tour reviews were pretty positive, the one negative review had to do with how this one customer’s credit card had been charged at the time of the booking for the whole amount – whereas most rental company will charge you upon pick-up of the vehicle.

I had a little gut feeling that this guy wasn’t quite as “by the book” as other rental companies, but his price was significantly lower than other places, and so we decided to go with him (in case you’re worried, I’ll say right now the story ends well, but this was definitely a case of culture difference and taking a bit of a leap of faith in terms of trusting that this barely-kosher transaction would turn out well).
Anyways, after multiple exchanges, he asked if he could bring the car to us on the day of the pick-up, to which I replied that we would be at the bus depot in Puerto Montt at 9am, arriving from Santiago, on December 13th. I mentioned the date to him at least twice, once by email and once on the form we filled out to confirm the car reservation.
Fast forward to Dec 13. We got off the bus and looked around for our contact, Enrique, but he was nowhere to be found. We had all his info in a conveniently packaged itinerary booklet that Brice put together (which, printed on 1/4 size paper, included all of our plane reservations, airbnbs, and even Torres campsites booking – I may be the planner, but Brice definitely has a strong organization fiber in him as well!). So I walked over to the ticket counter, and asked the lady behind it, in broken Spanish, if she would mind calling Enrique for us. She did and shortly after handed me the phone. I was able to converse with Enrique in English, and he apologized, saying he thought we were arriving the next day. He was very sorry and was on his way to pick us up immediately. I was a bit annoyed, understandably, but ok, we waited for him and he showed up 10 minutes later.
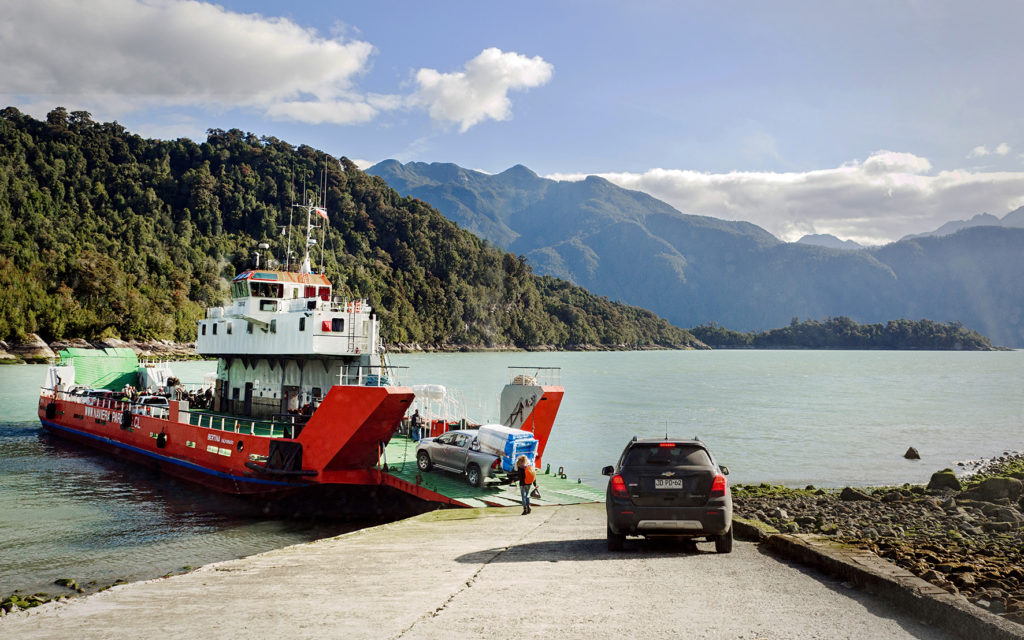
We got into a car with him and he said again that he was sorry, he had confused the date, and that he would have a car for us by 3pm. I replied that it wasn’t going to work for us as we had booked a ferry crossing in Hornopiren, which left at 3pm. Hornopiren was a 2.5 hour drive from Puerto Montt. Enrique stopped to think for a couple of minutes, and then said, “ok, I think I can have a car by 11am” (it was close to 10am at that point). He said he needed to drive back to his house to get another car, so we drove with him, then he got out of the car and said “meet me at the corner of … and… at 11am, there is a notary public there. I need to get some paperwork done for the car before you go but then it’s yours”.
At first we were pretty skeptical – this was definitely not your run of the mill car rental shop. But since he was basically leaving us the car he drove in with, without asking us to sign any sort of paperwork or anything, we figured we’d go with it.
So, car keys in hand, we drove back to the address he gave us and waited. A few minutes after 11, Enrique came around, holding papers, and handed them to us. He said the car was brand new, purchased the day before (the paperwork he handed us confirmed it). It was registered to a woman’s name but the address was the same as his company’s (so I’m assuming that the woman was his wife or partner and he really runs his business out of his house). The paperwork he needed from the notary was a signed authorization from said woman giving us permission to drive the car over to Argentina. He handed us a pile of papers including insurance, proof of purchase, etc.., and told us “when you cross the border, don’t say it’s a rental, tell them it’s a friend’s car”… Oook. Once again, not our usual rental transaction, but heck, we were in Chile, and we did get the car that we had paid for, so we shook his hand and went on our way. By the way, no paperwork was ever signed by us during all this.
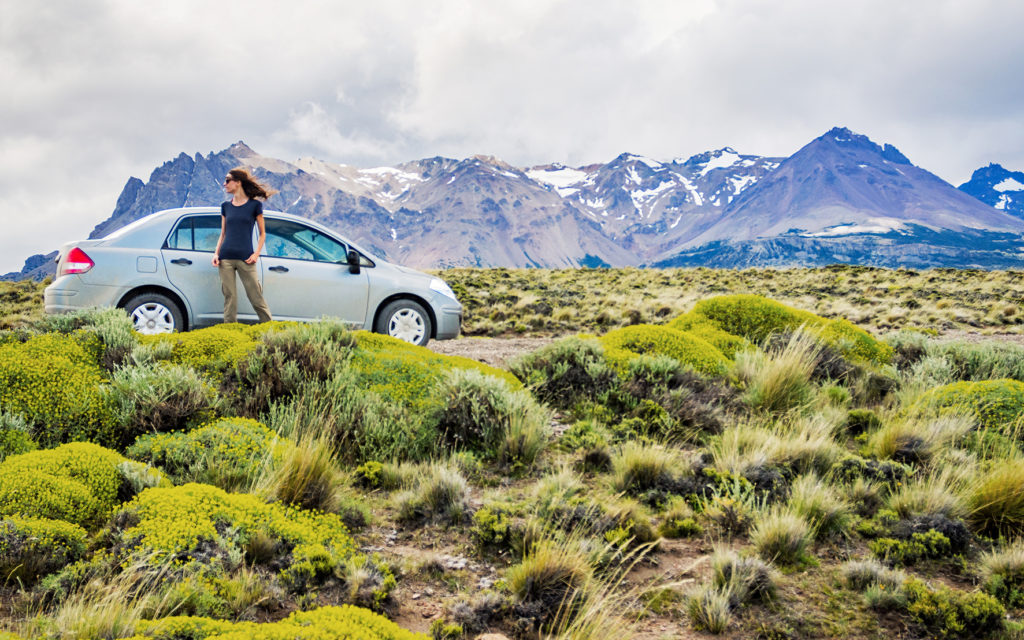
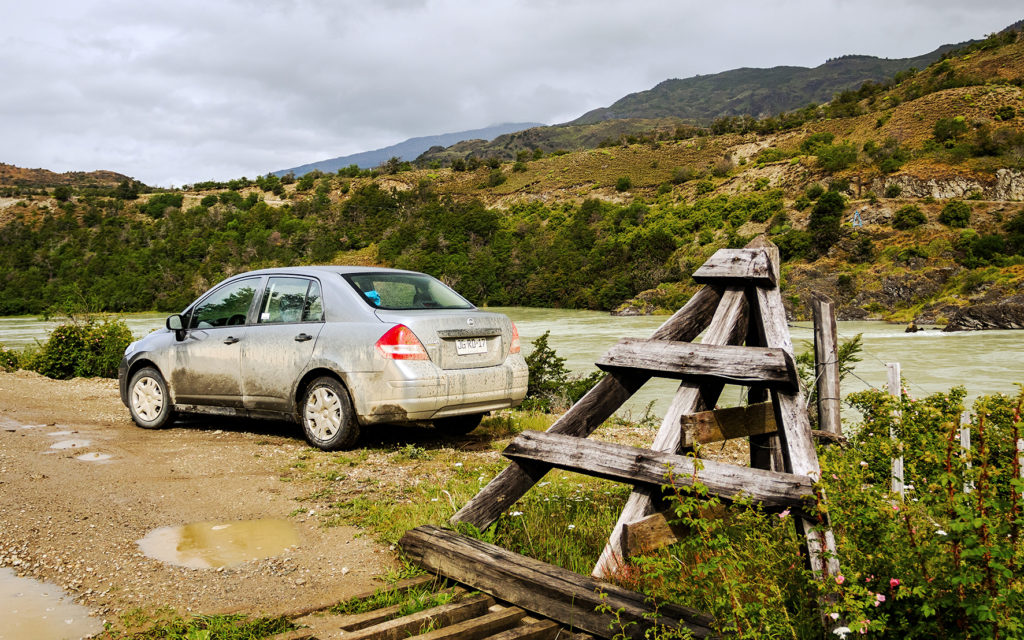
If you’ve read the previous posts on this blog, you know by now that although the car we rented was definitely not the most optimum choice for this type of road, it did take us from A to B without any issue. We actually came to be quite fond of our crappy little south-american Nissan Tilda, with manual windows and non-centralized door locking.
Navigation
Along with a road map (which was helpful to get a rough idea of how much distance we should try to cover every day, and were we should try to be every night) and the guide book, there are two apps that we used that were extremely useful.
Our favorite navigation map to date is Navmii. We’ve used in New Zealand, Australia, every time we go to the States, and once again, here in Chile. The main advantage is that it provides an off-line map, which means you don’t need any data or roaming in order to access it. Your phone can be set to airplane mode, all you need is your GPS to be on. It sucks quite a bit of battery, so it’s especially useful when driving, where you can keep your phone charged. You download the apps for the specific country you’ll be using it in, and they have pretty frequent updates. I have found their maps to be quite detailed – the Canada one even shows hiking trails all around Vancouver that Google map doesn’t.

The second app that we used for the first time (but not the last!) was iOverlander. I got the tip once again from Desk to Glory, and it turned out to be the most useful app we could have had in terms of finding places to stay.
The way it works is that it gets populated by other travelers, who enter the Geo location of the places they’ve been to. It could be a scenic wild camping spot, a gas station, a cute bakery, a hostel, etc…they’ll give a short description along with GPS coordinates. Again, the app can be used offline, and it will display a list of places that are nearest to you (note that distances displayed would be as the crow flies, and not driving distance). While the iOverlander map view requires wifi or data to load, you can also copy the coordinates from iOverlander and paste them into Navmii and it will get you there.
Basically, I used this app every day to find just about everything, Grocery store, gas stations, car mechanics and most importantly a place to sleep. We found 90% of our camping spots using this app. It was especially great at finding us little gems of places that where off the main road and that might not have been indicated anywhere else otherwise. I’m really grateful for all the users that took the time to enter all their travel finds, as we got to enjoy them as well.

On the Road
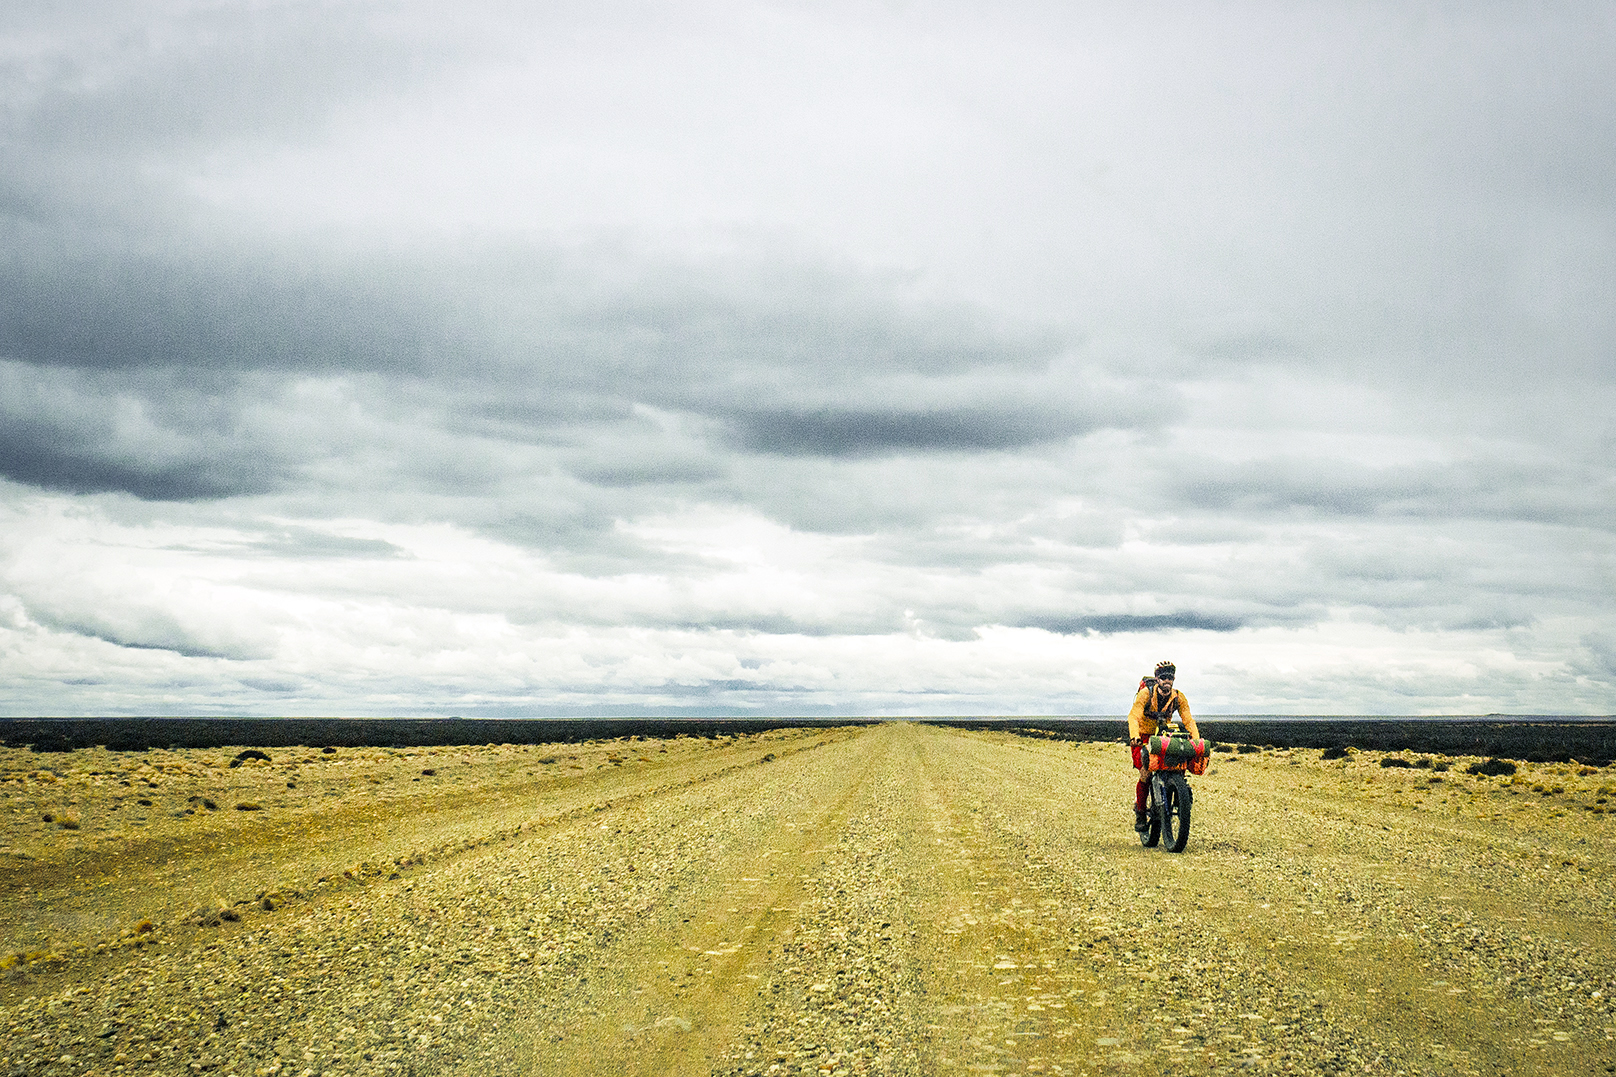
The guide book was very helpful in listing out the towns that did have a gas station, along with recommendations for car mechanics along the way. Along the Carretera, we didn’t have any issues finding gas. It’s once we crossed over to Argentina that we entered a much starker no-man’s land, in which we had to drive a lot longer to get to the nearest station. Also, none of the gas station took credit card, so on our first stop after crossing the Argentinian border, we had to figure out a way to change USD into pesos. Hotels and bigger shops would usually trade currency, with varying fees.
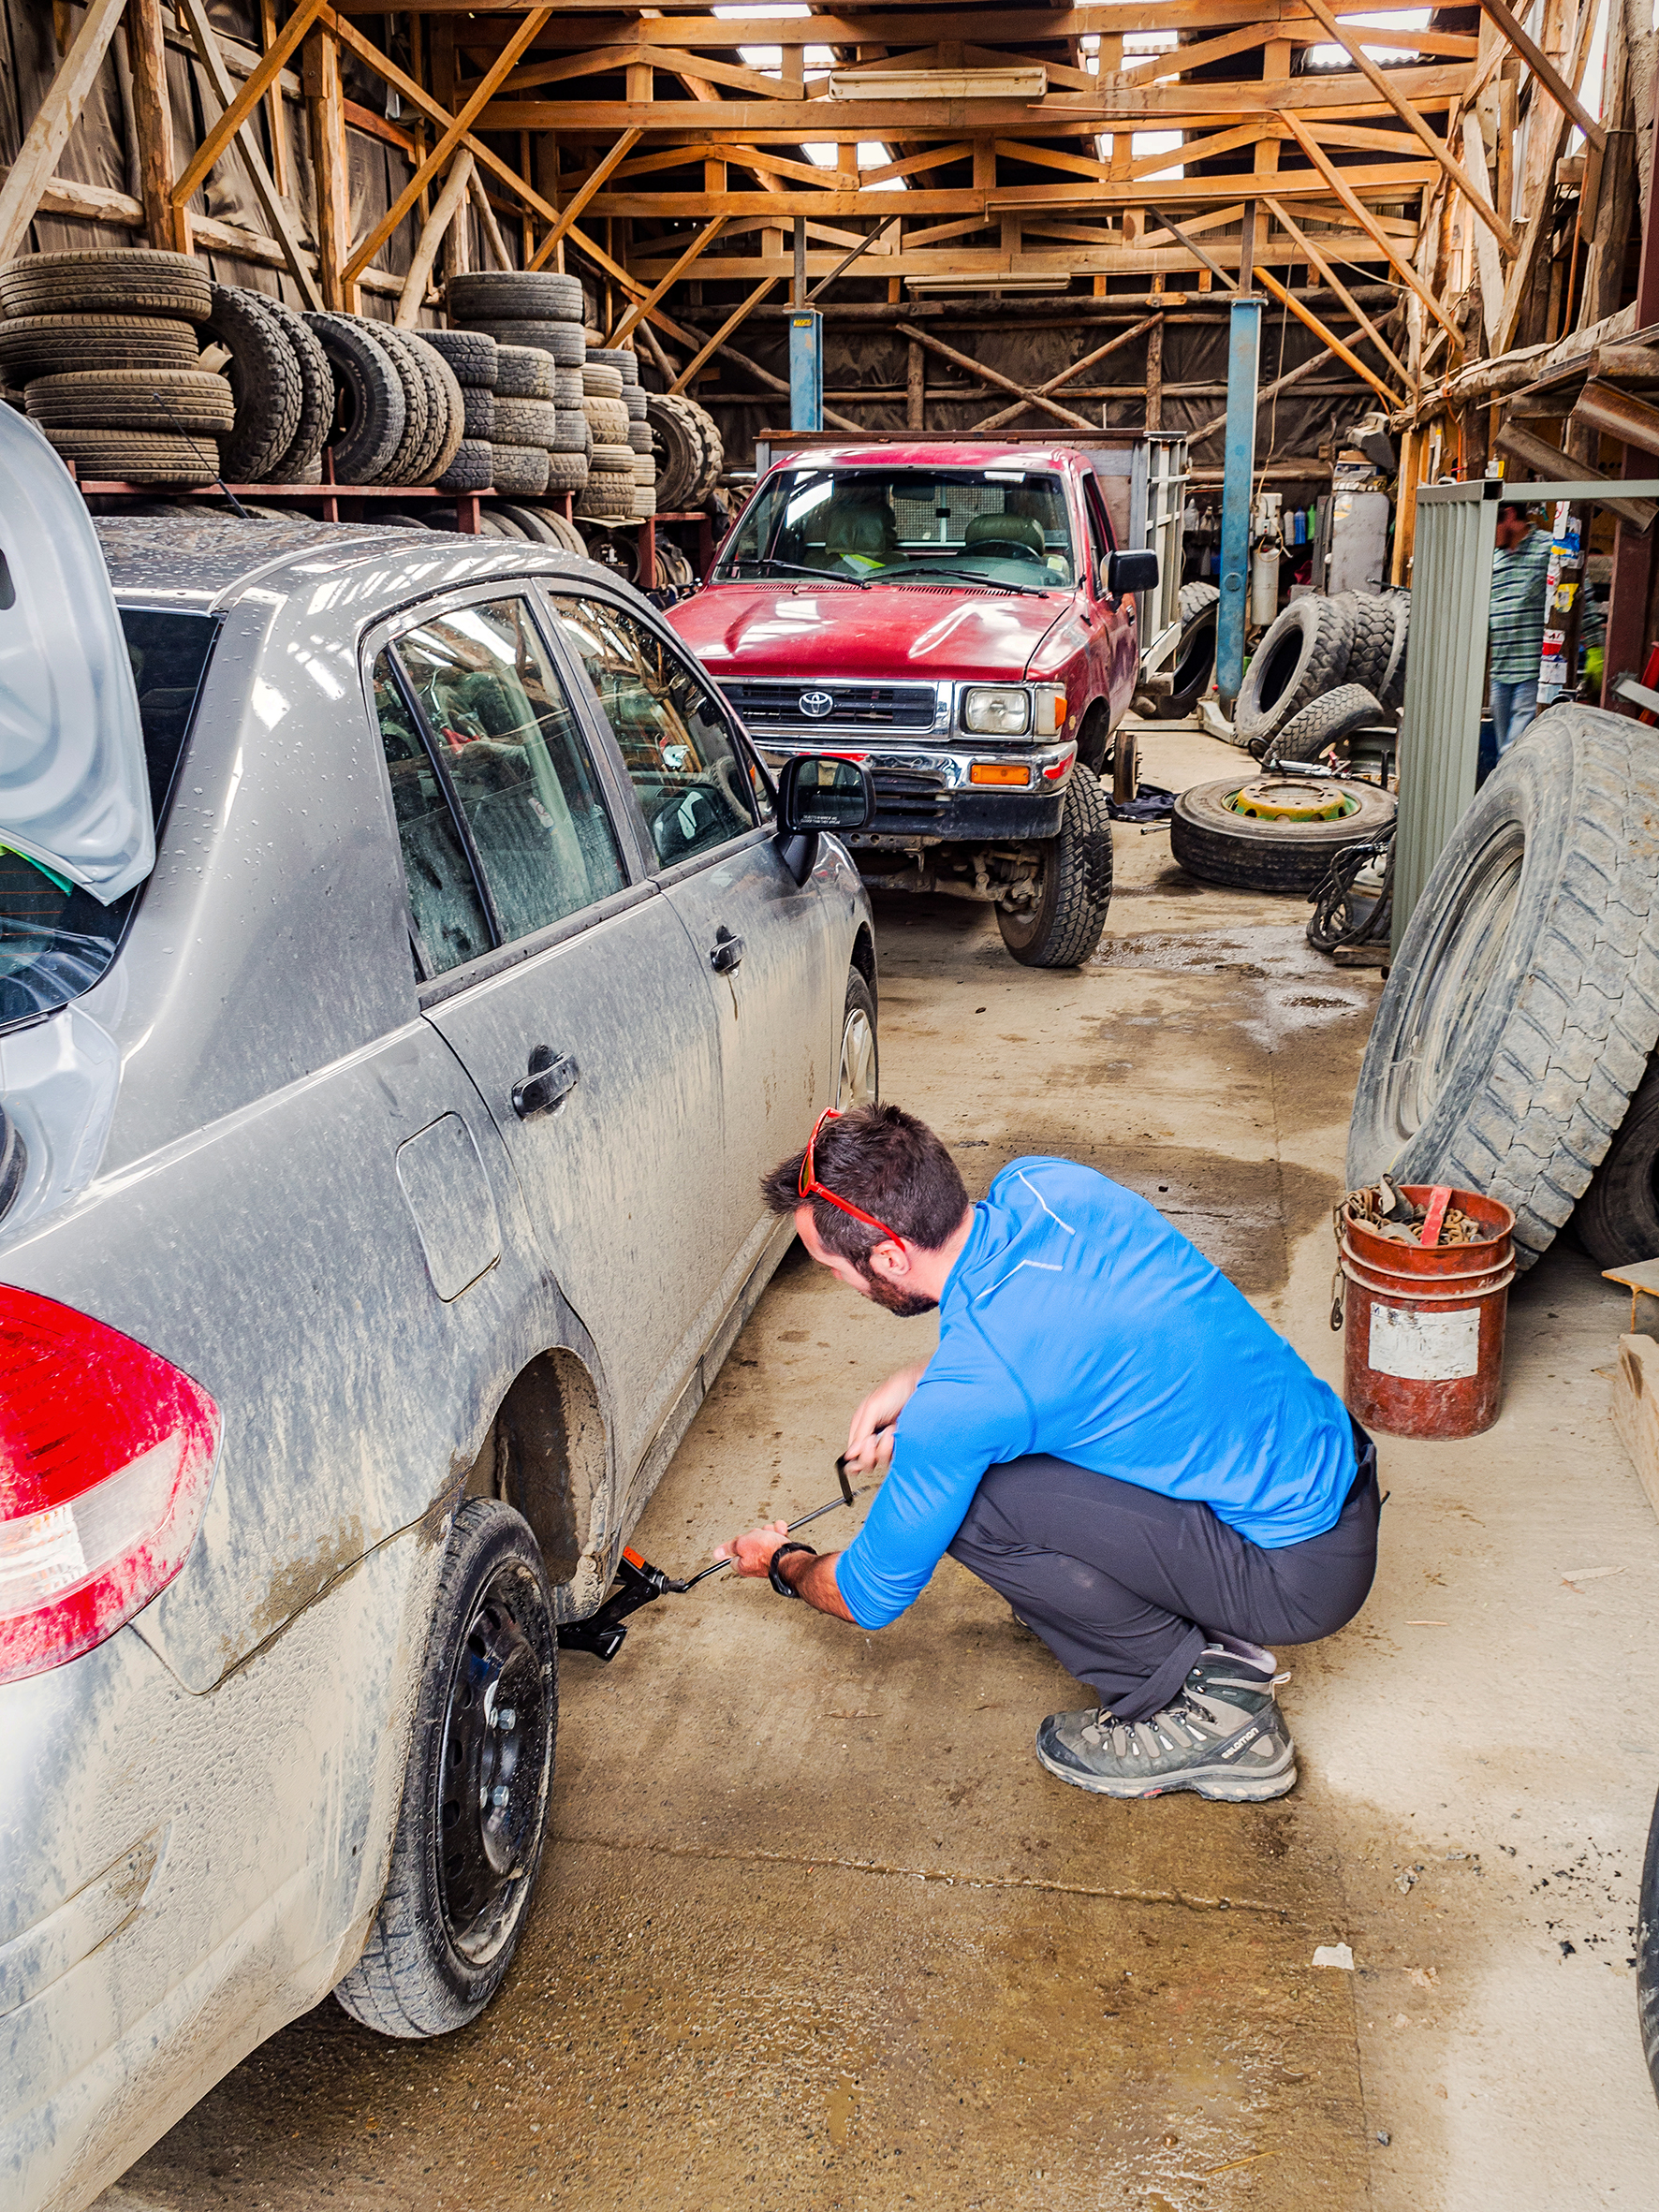
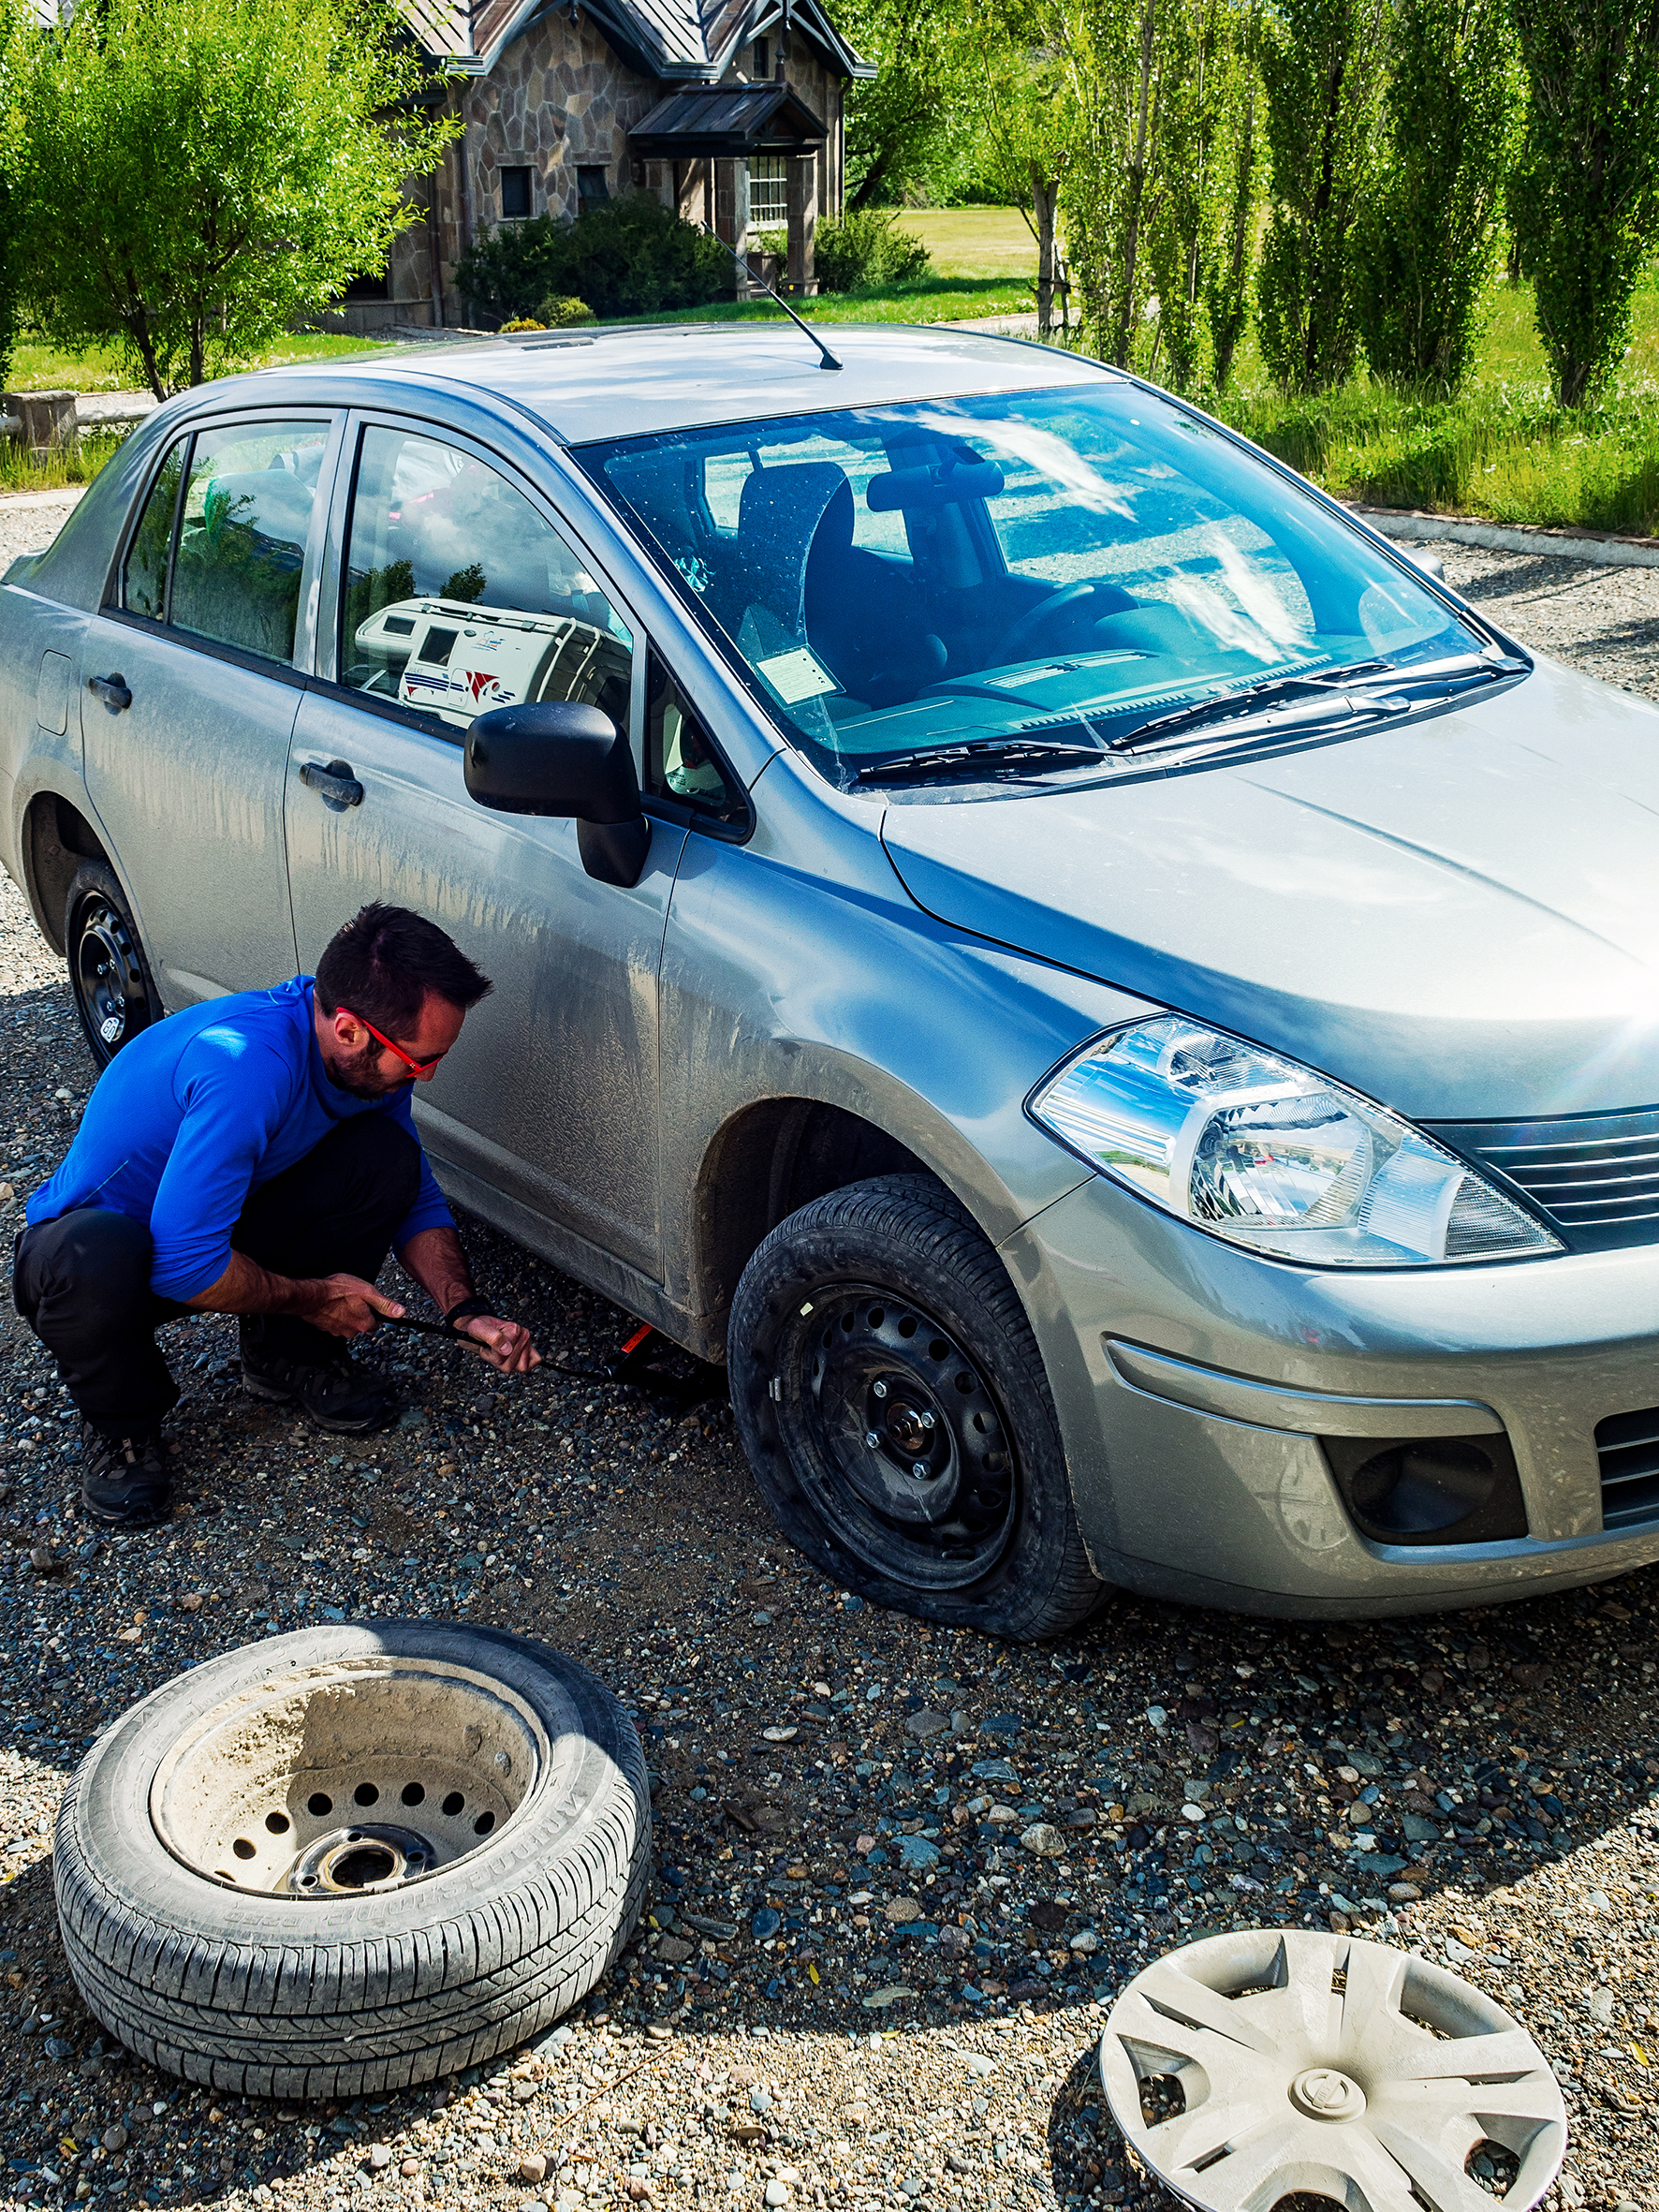
We didn’t have any car trouble, aside from two flat tires, which was to be expected. The first one occurred just before we crossed the border to Argentina. It happened overnight and in the morning we had to drive back about an hour to the nearest town to get it changed – ironically, this one was caused by a random screw that we probably picked up at the campground, and not even after all the rough pot-holed dirt road driving.
The second flat tire happened as we crossed the border back into Chile (it must be a border thing then). That last portion of road in Argentina was really rough for about 70km, so we’re not sure exactly what caused it. In both cases, we made use of the spare tire that came with the car and didn’t have too much trouble finding a mechanic to change the tire for us…
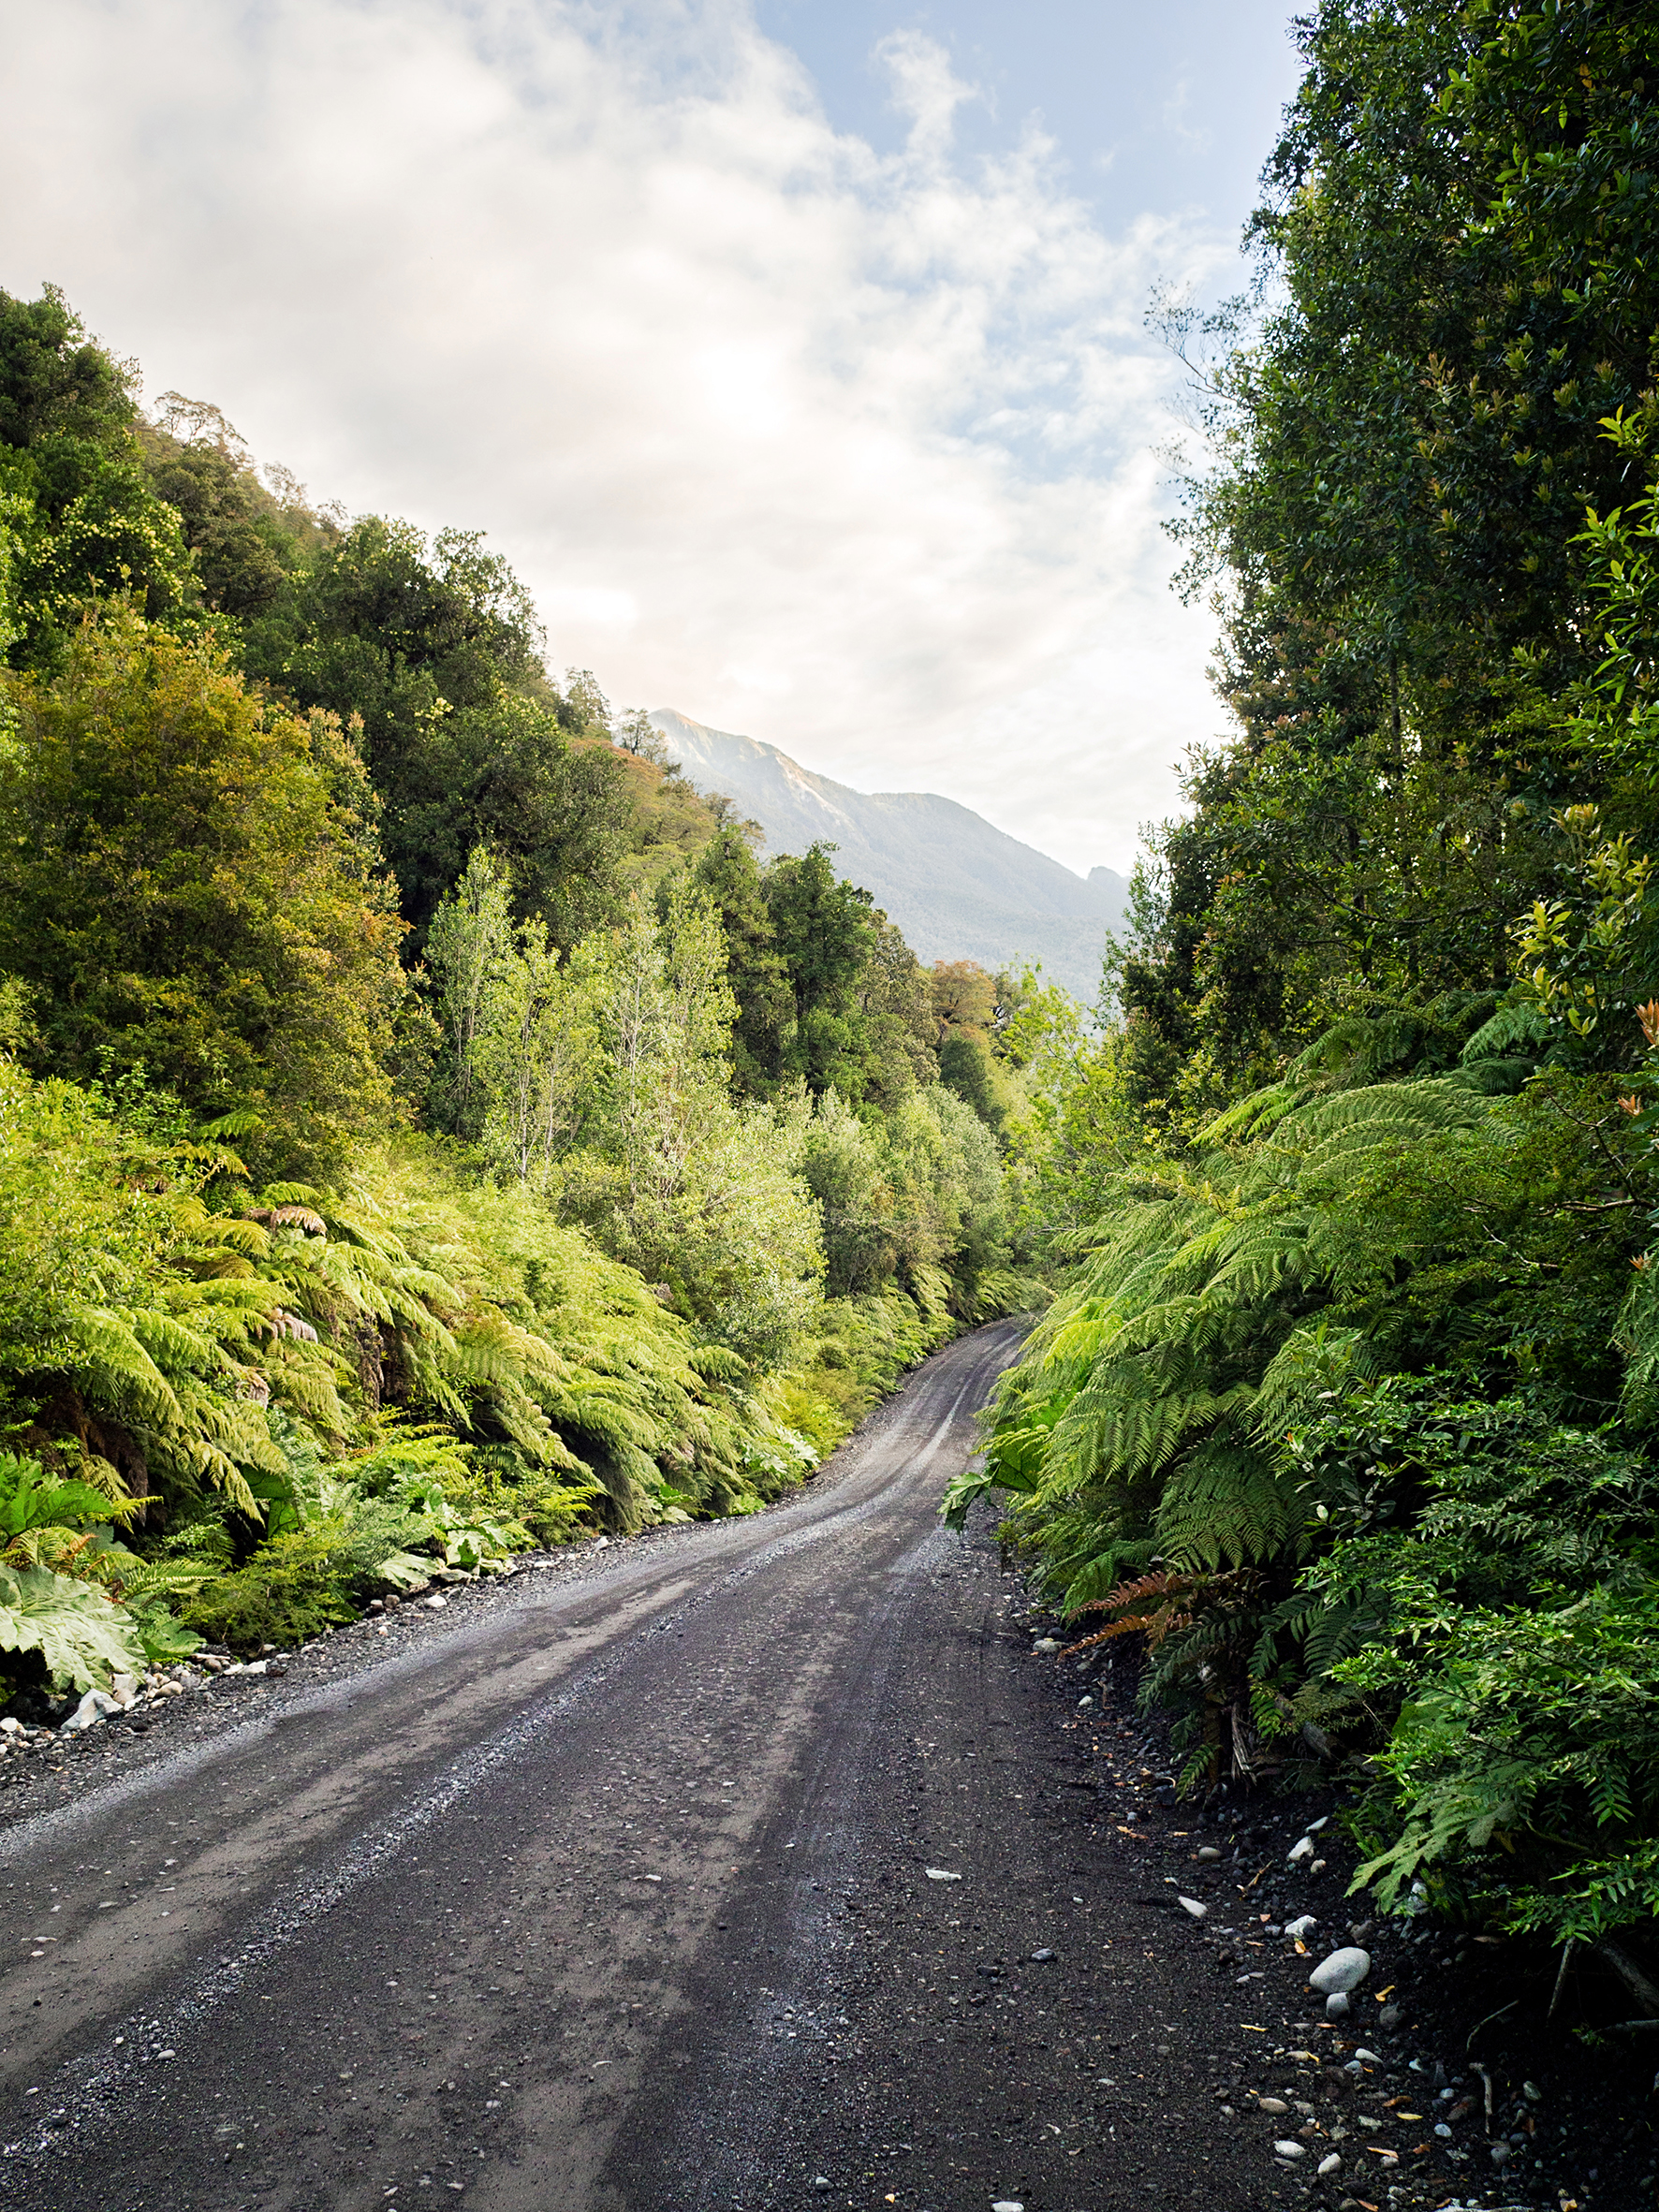
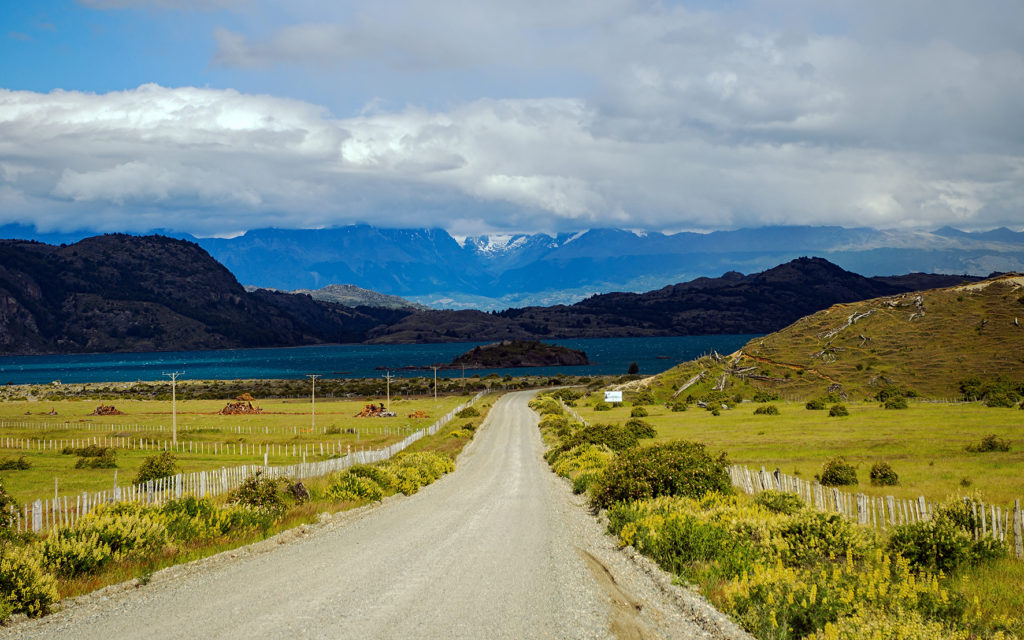
Regarding the condition of the road itself, it had improved in parts compared to what the guide book described, since it was published a couple of years ago but I did notice some portions that the book had marked as paved but were still gravel when we drove on them. There were still a fair amount of road that was pretty rough – around Puyuhuapi and Puerto Cisnes for example. Nothing was paved past Villa Cerro Castillo, nor is there a plan for it to be at this point, according to the guide book. Once we crossed over to Argentina, the book became irrelevant, and we just had to take the road as it was – mostly in bad shape, except for a good portion of Ruta 40, the Argentinian equivalent of the Careterra.
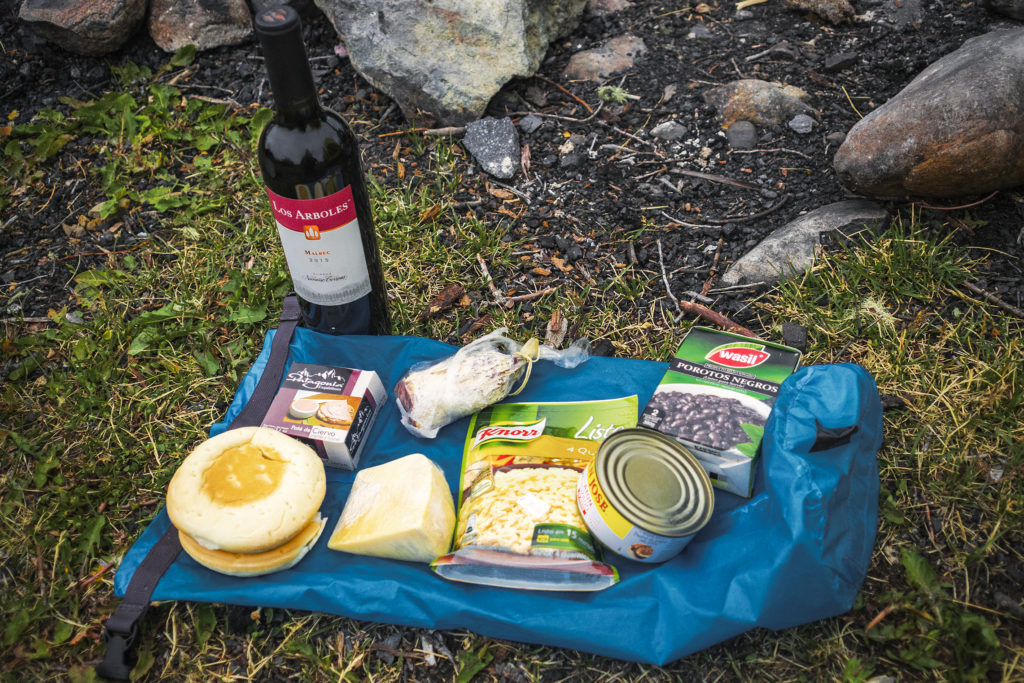
We didn’t eat “out” much, meaning in restaurants. But we did it outside a whole lot since we were on the road and camping every night. Avocado and ham sandwiches were a pretty good go-to for lunch, and for dinner we alternated between couscous, beans (we must have tried all of the options of the “Wasil” brand, various mixed beans packaged in small cartons) and canned fish, or pasta, or instant noodle…and lots of cookies, chips and snacks to keep the “hangriness” away while on the road – bonus tip for happy traveling: more often than not, things start to go downhill when one (or more) of the travelers’ blood sugar goes low. We know that well, and we both know to reach for a snack as soon as impatience or annoyance makes an appearance…sure enough after a few bites, whatever frustration started to rear its head is gone.
Planning the Torres del Paine Trek
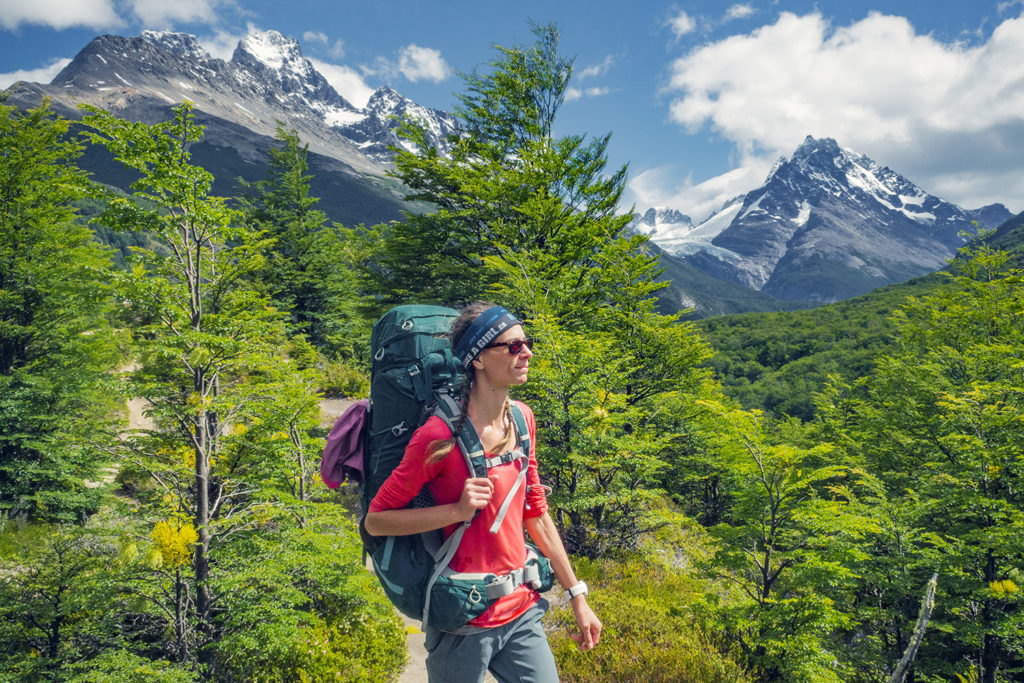
When we were planning our trip to Chile, this is the first thing we looked into. We had never done a hiking trek like that before, but after doing some research, it sounded like it was a pretty accessible, not overly challenging one given our fitness level.
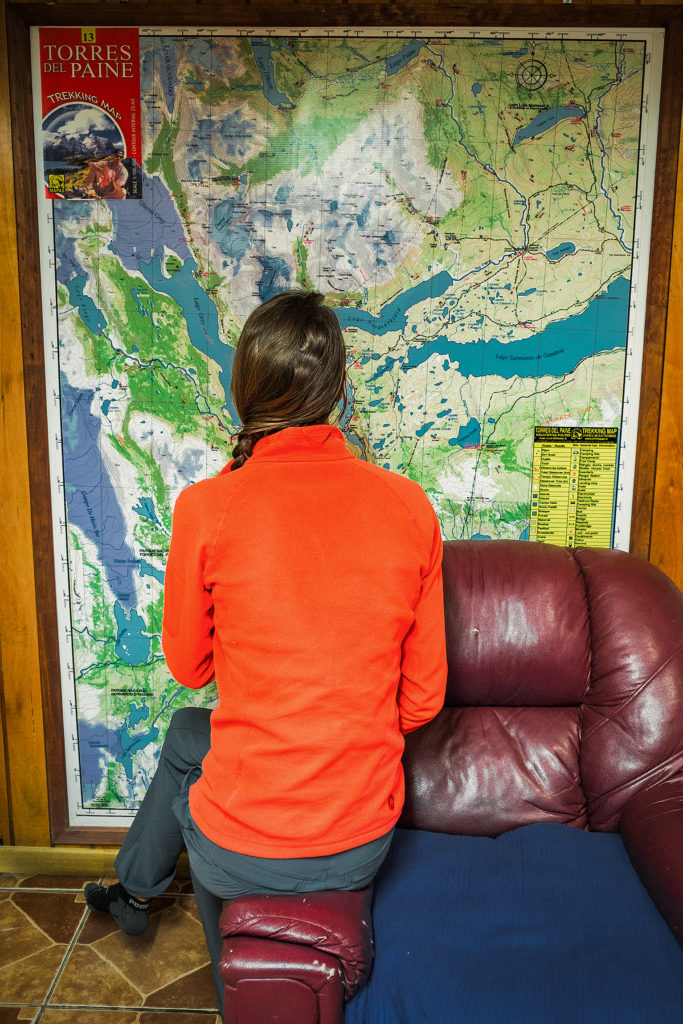
The main source of information I found was Alan’s blog: Adventure Alan. It’s probably the most detailed and accurate resource about Torres del Paine out there. It was incredibly useful in learning how to get to Torres, what to bring and what would be available there. He also shared the itinerary he and his wife followed, meaning basically what distance they covered each day and which campgrounds they stopped at. There are a number of campsites along the full circuit, so we had to decide which ones we would sleep at. After reading the itinerary in details, I figured Brice and I were in pretty good shape and could easily follow the same plan as Alan (the one detail I had overlooked was the weight of our packs compared to theirs, which did make a bit of a difference on our overall travel time, but we were still able to follow the itinerary just fine). He also recommended booking campsites in advance, as the park was getting more and more popular and sites were booking out fast.
Actually, from reading other blogs, it seemed that up until November of 2016, campsite management was a bit on the loose side, and there was sometimes a pretty big overflow of campers. This caused sanitary issues on a couple of occasions, which eventually led to the park having stronger rules about camping capacity. We were really glad we planned this ahead of time, as we met people along the way who just showed up at the park, hoping to be able to camp, but were turned away by rangers because they didn’t have a reservation.
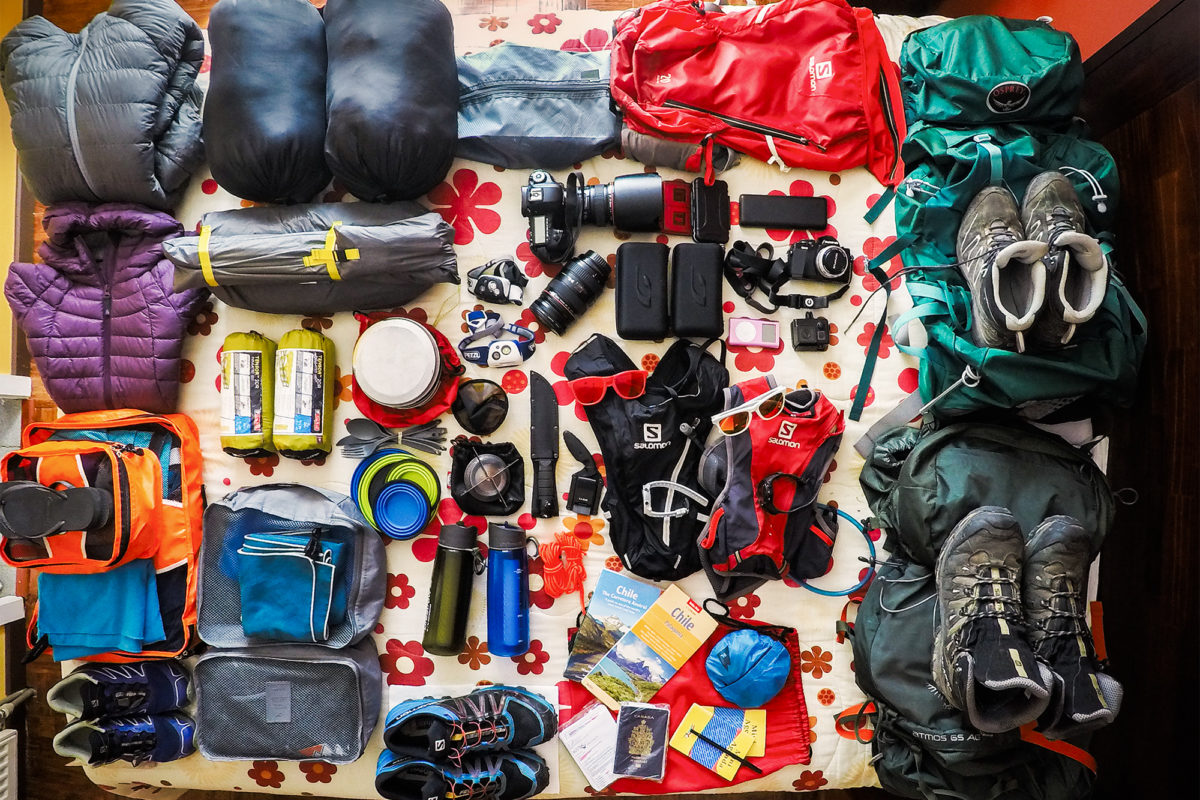
Gear
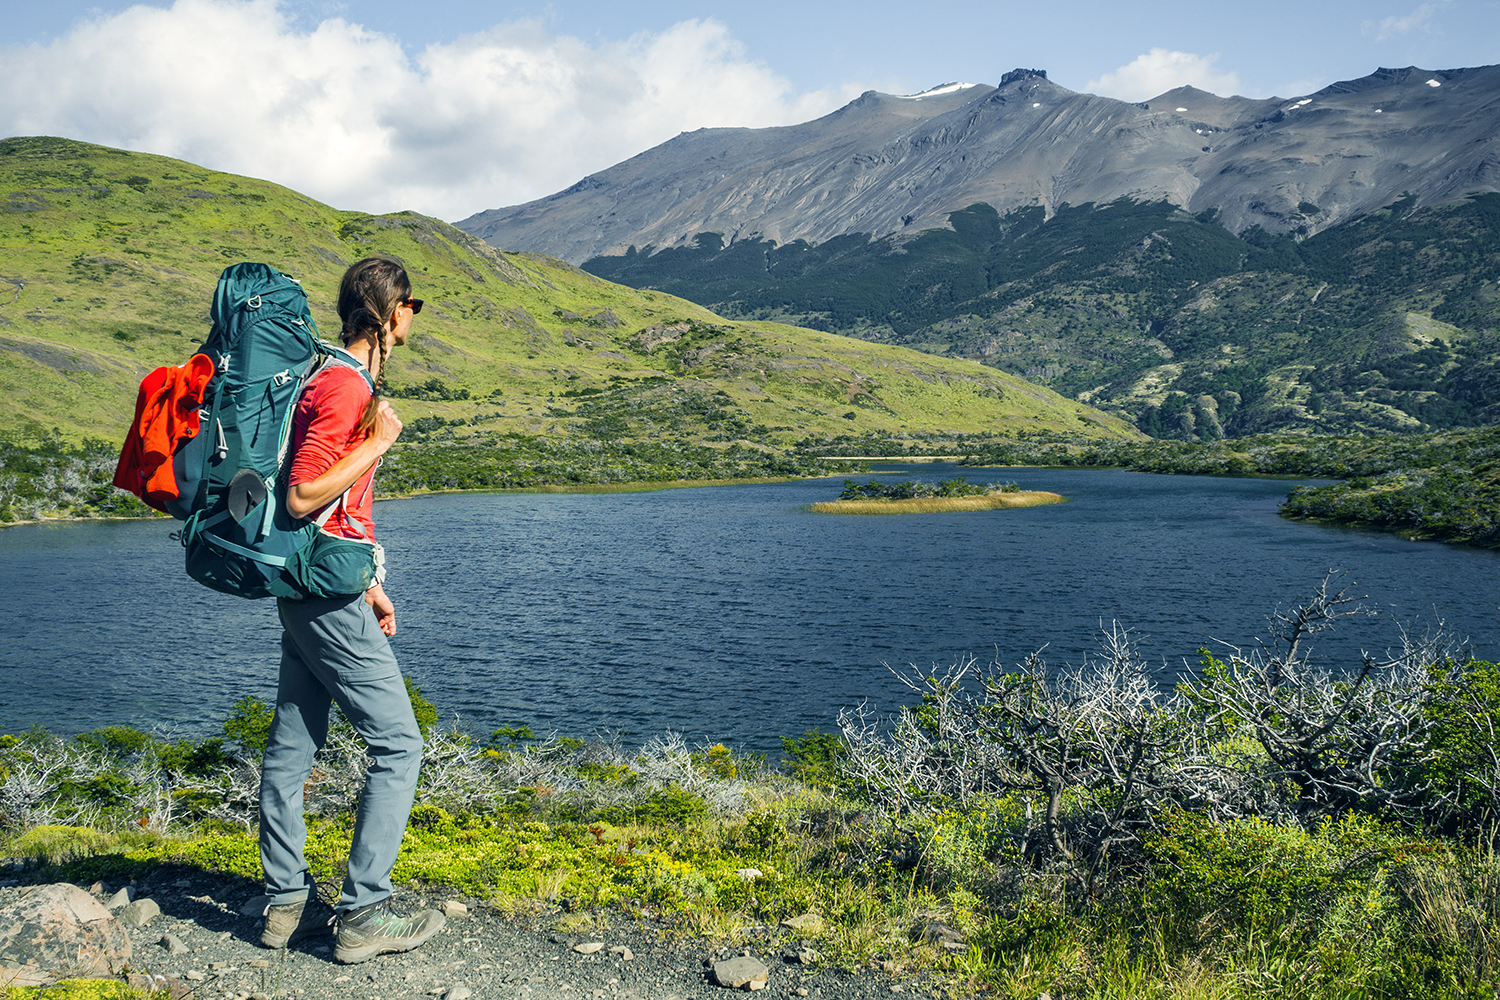
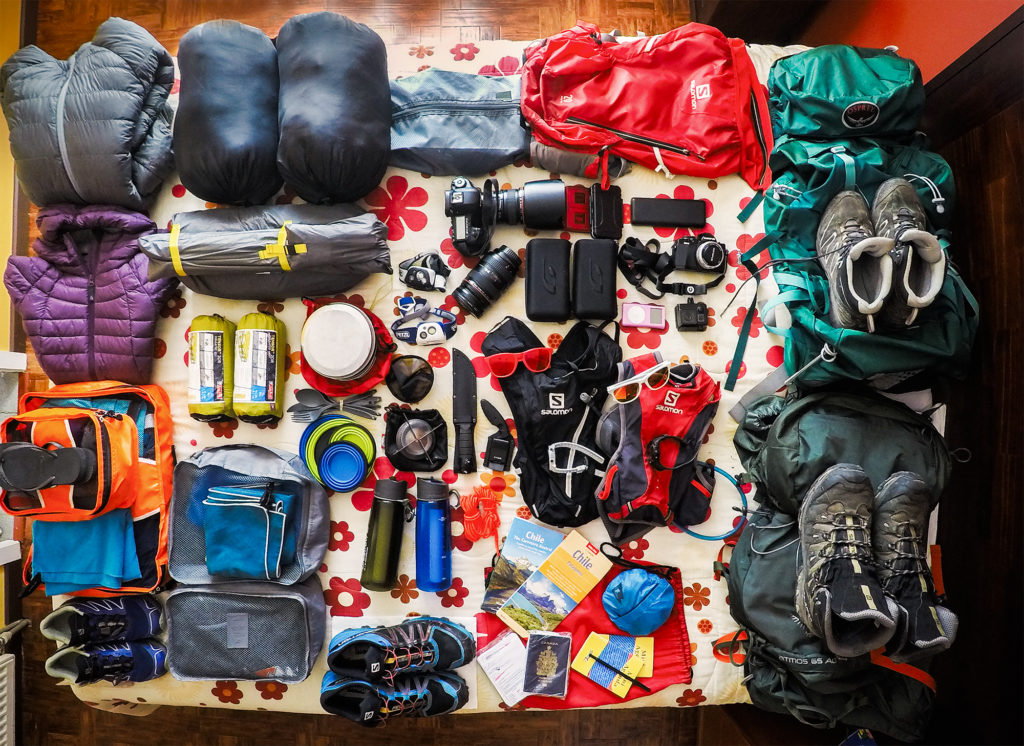
Seeing how the last 6 days of our trip involved us carrying all our belongings on our back, we tried to keep things as light as possible. The Costa Rica retreat in the beginning of our trip did add some weight that we otherwise wouldn’t have bothered with (mainly summer clothes).
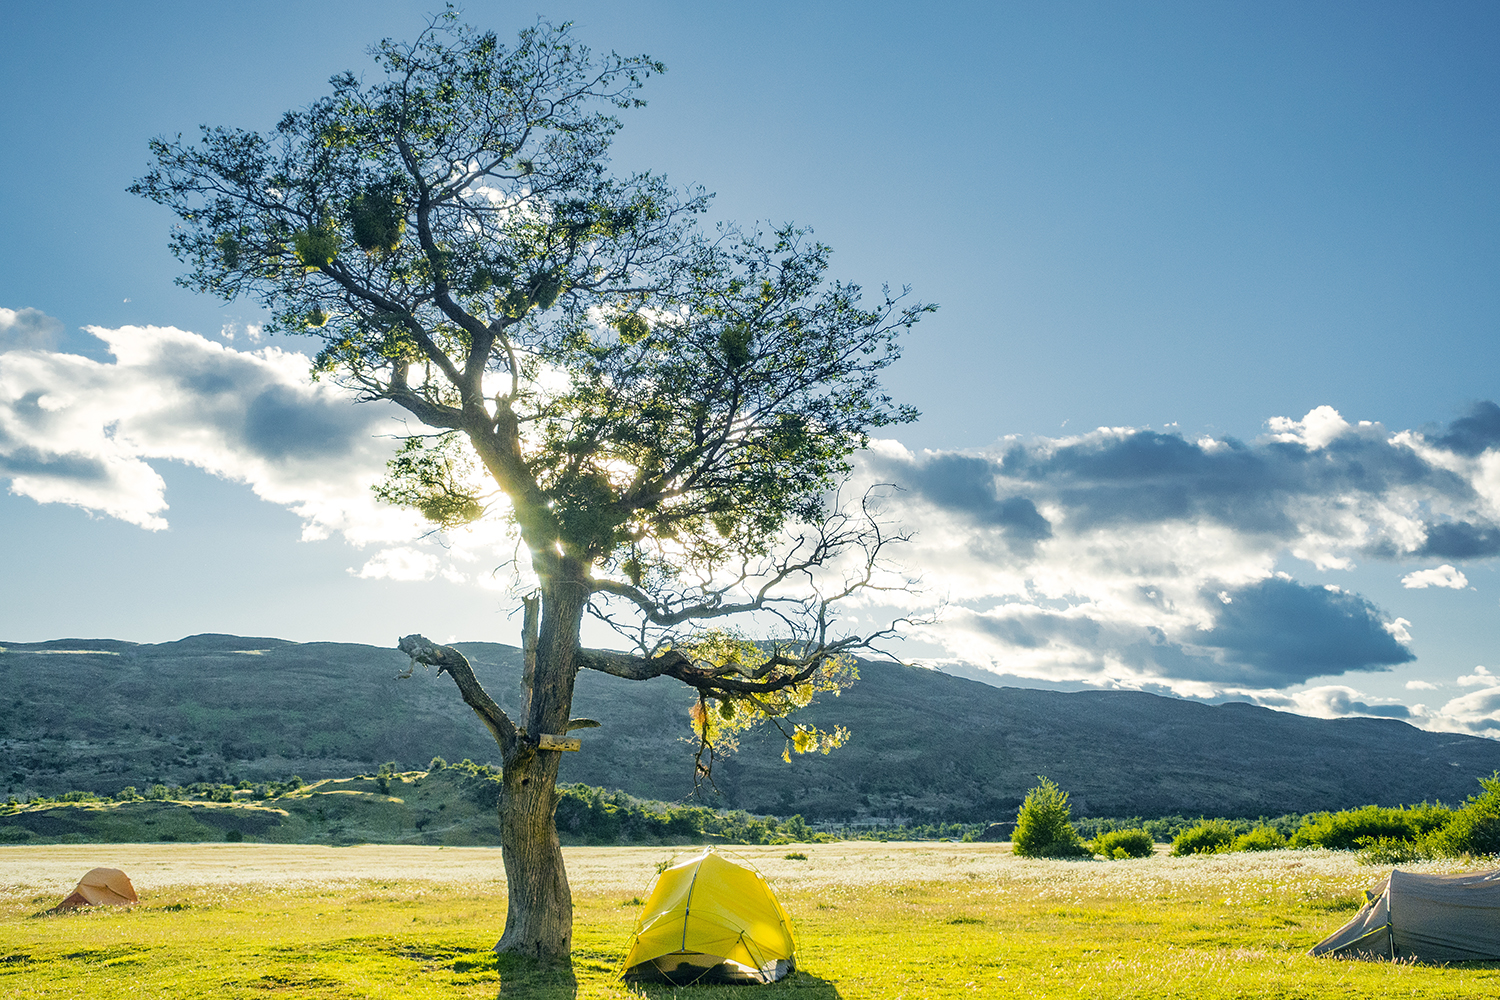
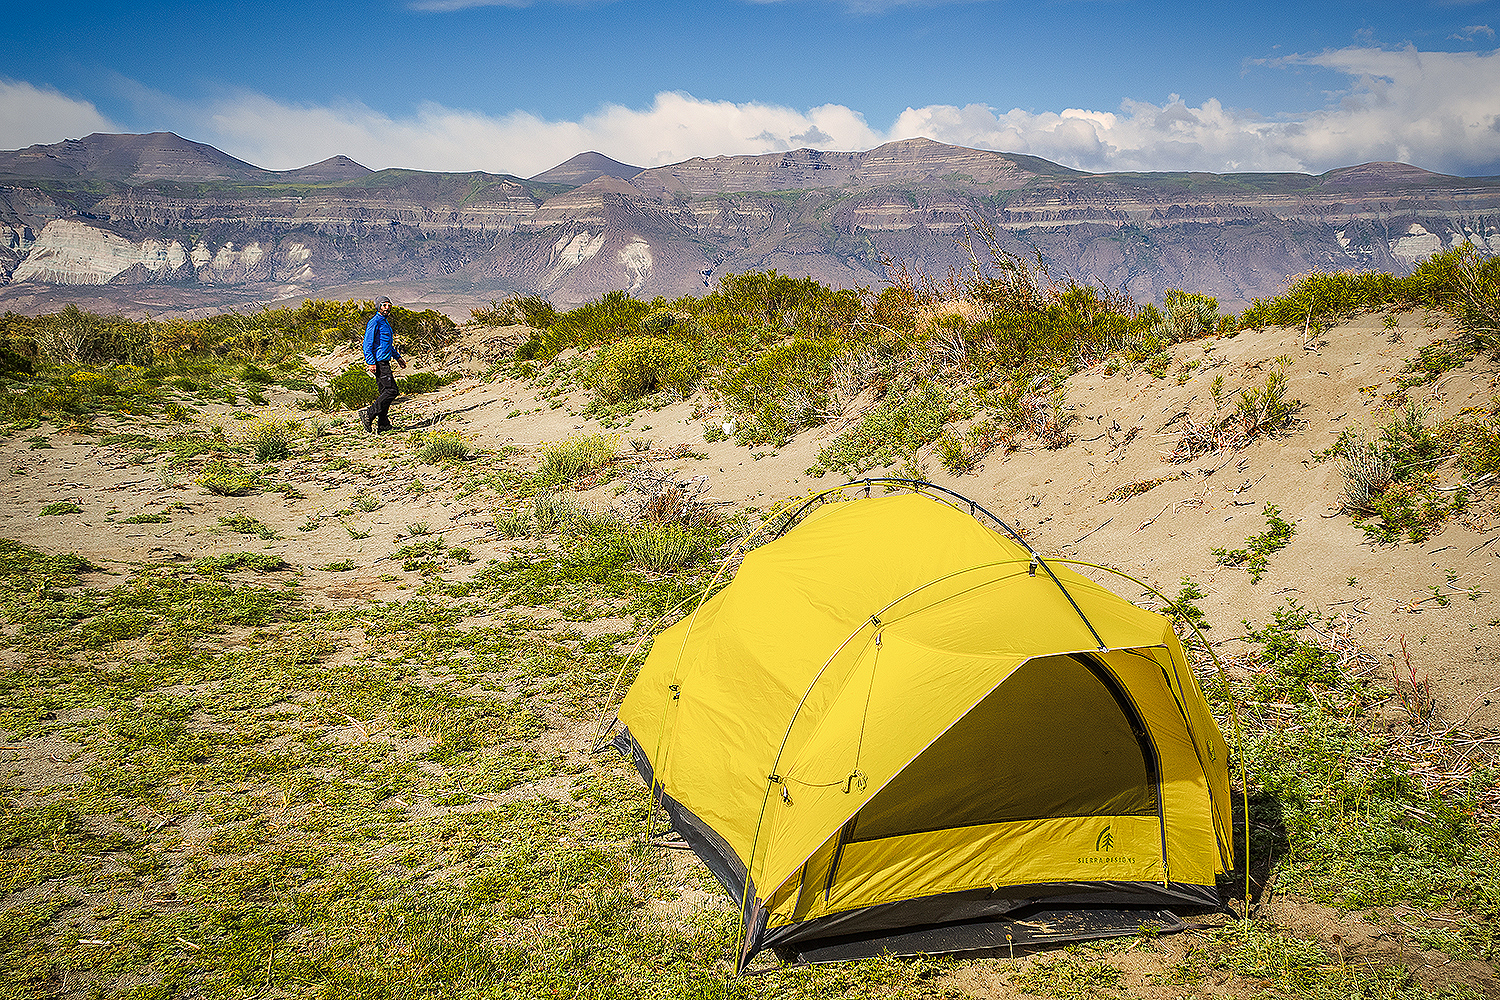
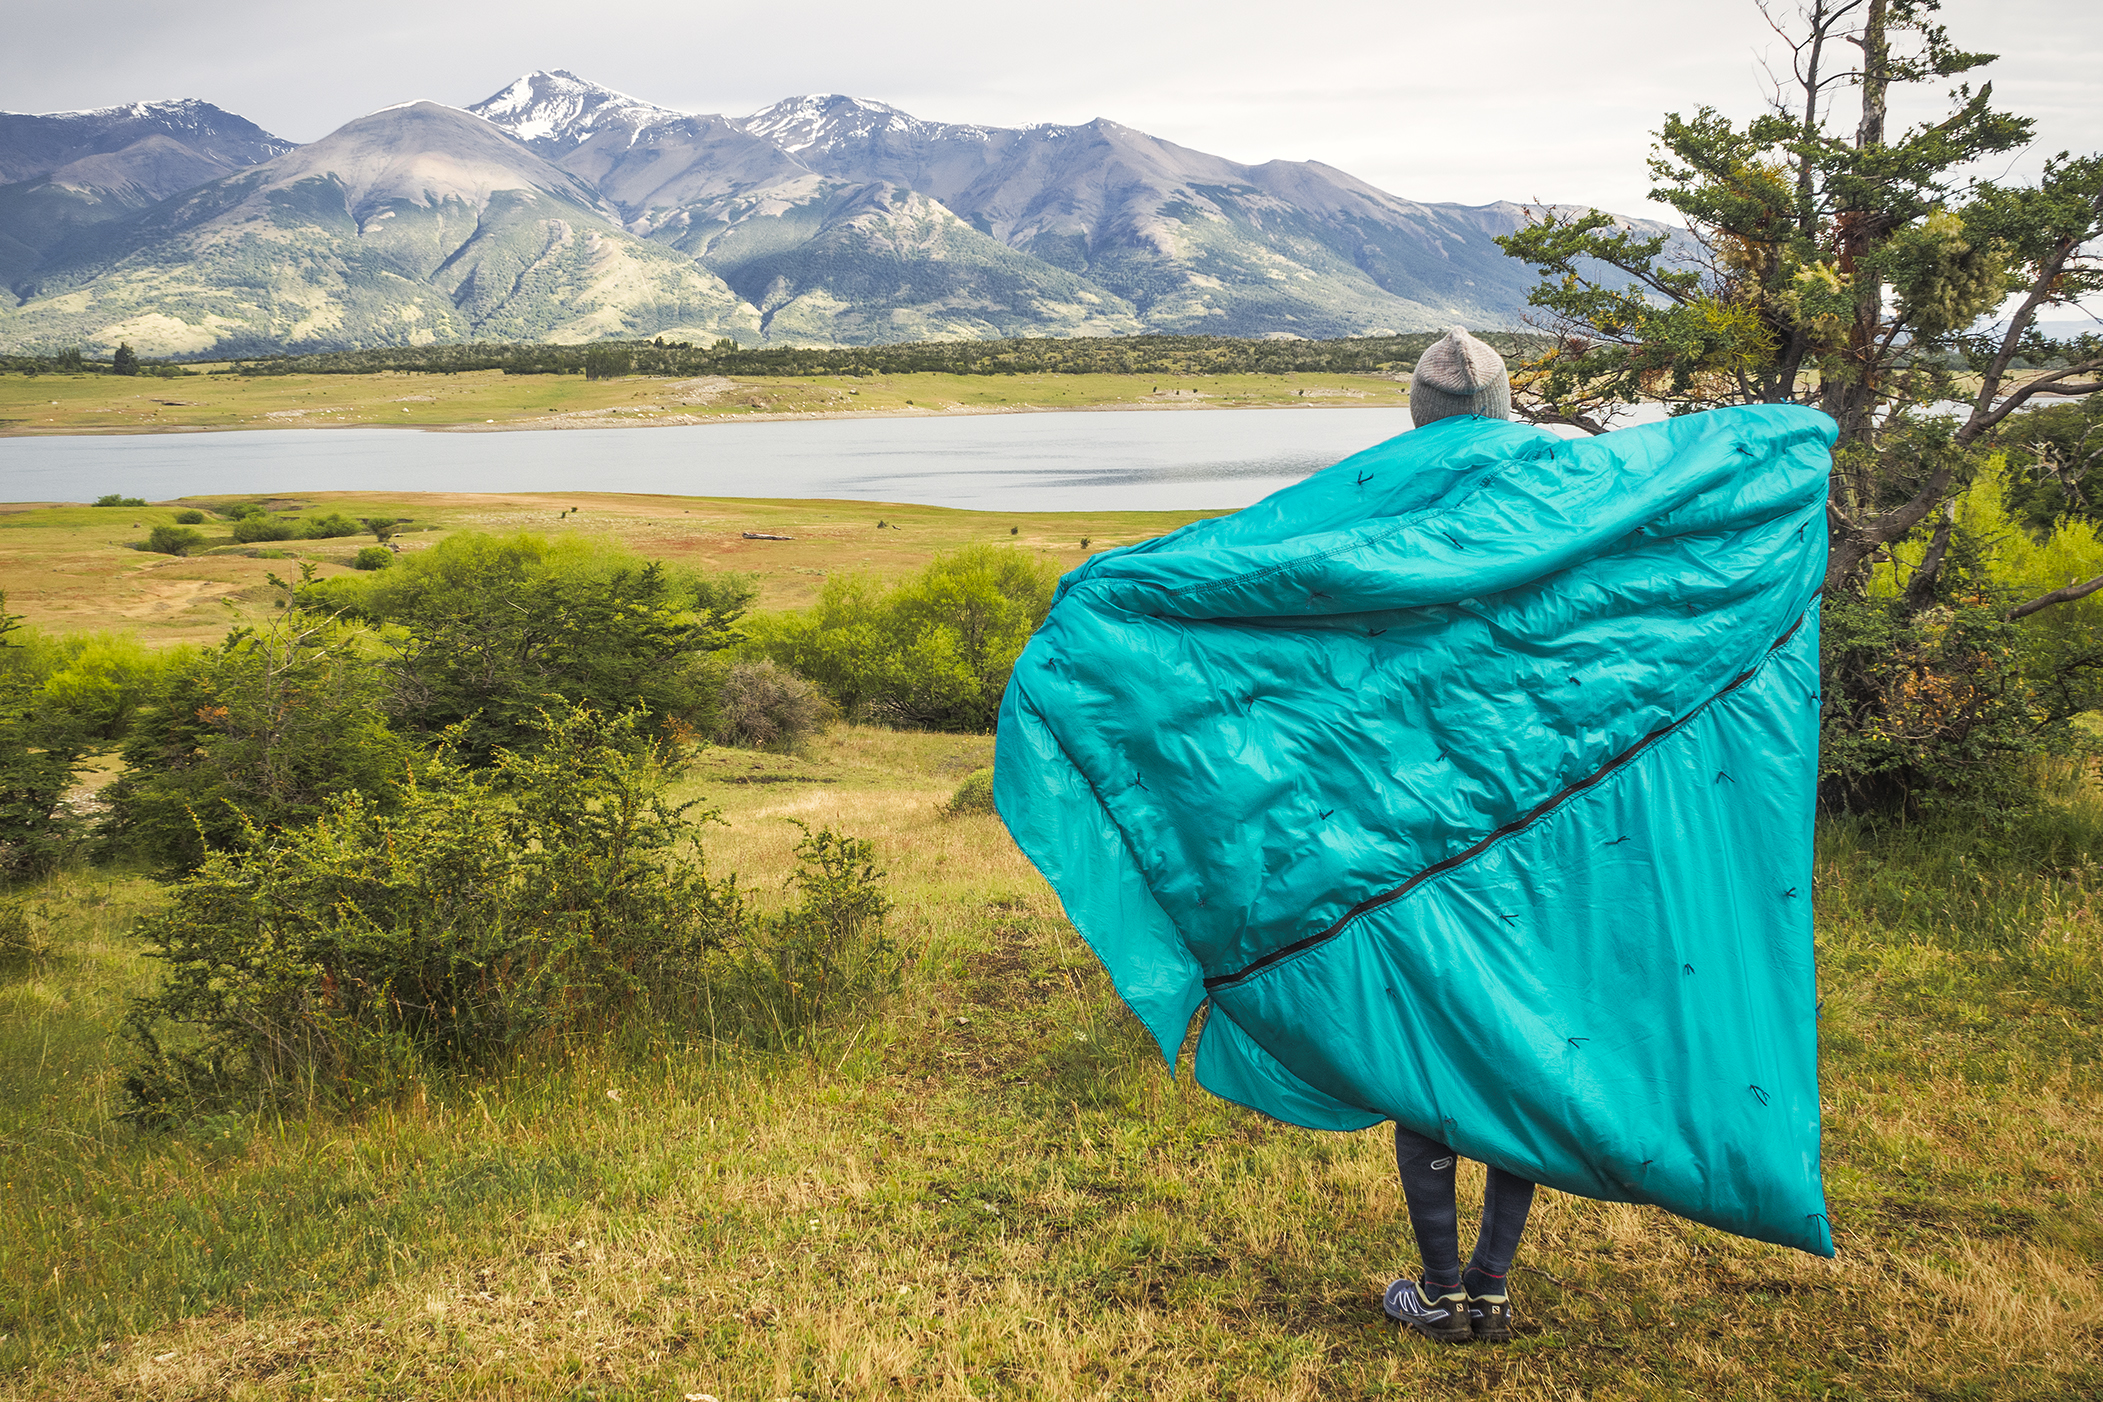
Our sleeping gear was comprised of our awesome Sierra Design Convert 2 tent, our two Nemo Astro insulated sleeping pads, and my DIY Ray-Way sleeping quilt (the making of which you can read all about on my sewing blog).
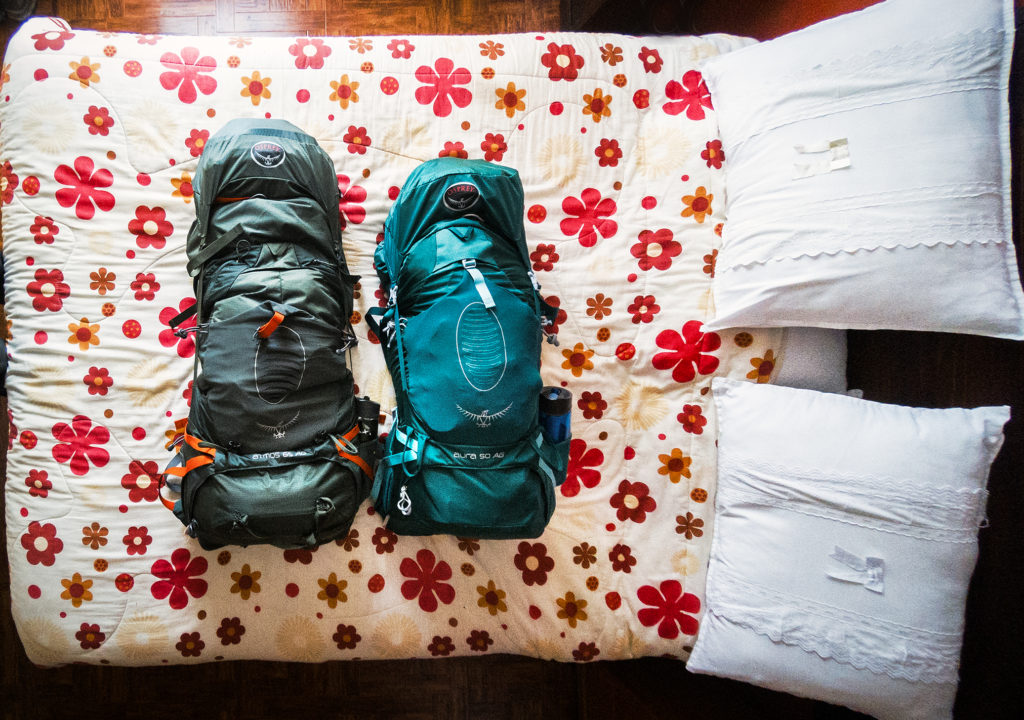
All these pieces worked out great for us throughout the trip. Our backpacks were Ospreys, also a pretty great tried-and-true piece of gear. My only problems with those (and it would probably be true with other brands) is that I have bony hips, and while we were hiking, I wished I had had a bit more padding on the hip belt as overtime I could feel pinching – which was of course accentuated by the weight. I did play around with weight distribution between shoulders and hips, but it never completely solved the problem. I might look into making a couple of little padding pieces to attach to the back of the hip pockets and see if that would make them more comfortable. Any advice from other bony-hipped backpackers are welcome!
Clothing-wise, I pretty much went with everything merino (except for pants, but including socks and underwear). Merino is awesome as it breathes well, keeps you warm when needed, and more importantly, doesn’t smell – even socks! It’s super easy to wash and quick to dry.
From tank tops to long sleeves, shorts to pants, I basically brought 2 of everything, layered multiple ways depending on weather. Upper layers included a fleece jacket (that I pretty much wore daily in Patagonia), a gore-tex rain shell to stay dry and a down jacket to stay warm. Even though we were in the Southern Hemisphere during summer, the unpredictable, ever changing weather in Patagonia definitely warranted hats and gloves and I also used a running buff – great for light head coverage during the day and sleeping mask at night.
Footwear was comprised of 1 pair of trail running shoes – mainly used in Costa Rica, 1 pair of hiking shoes and 1 pair of light weight flip flops.

If it wasn’t for Costa Rica, I probably wouldn’t have carried any summer running clothes or hiking shorts. As I mentioned above, the “summer” weather of Patagonia can go from bright warm sunshine to pouring rain and even snow in the span of a day. I wore mainly long pants and sleeves the whole time.
Brice was a bit more conservative than me with his packing (he tends to get much warmer much easier, so layering isn’t really his thing), but his bag included pretty much the same outwear essentials.
We purchased packing cubes to carry our clothes in, and that was probably one of the best investments we made for this trip. It wasn’t much, but having our clothes neatly put away into their own zip-able pouches meant we didn’t have to dig through the backpack to find them, they could be easily shoved in and out amongst the rest of our gear, and they also doubled as pillows.
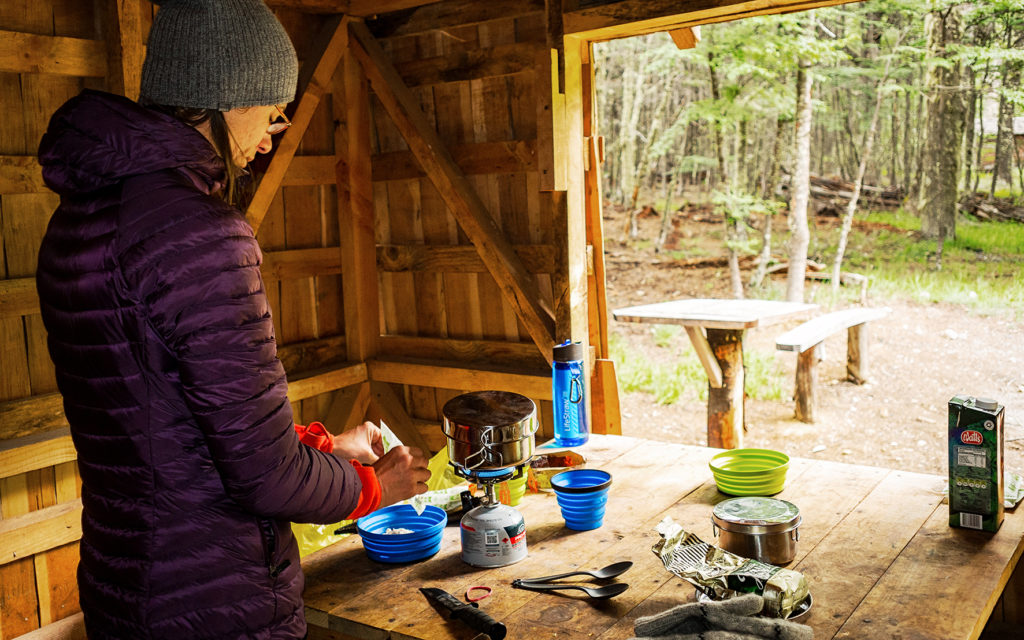
For cooking, we kept things as simple as possible with a simple screw-on stove piece, 2 collapsible plates and cups, plastic utensils and a set of small, lightweight camping pots.
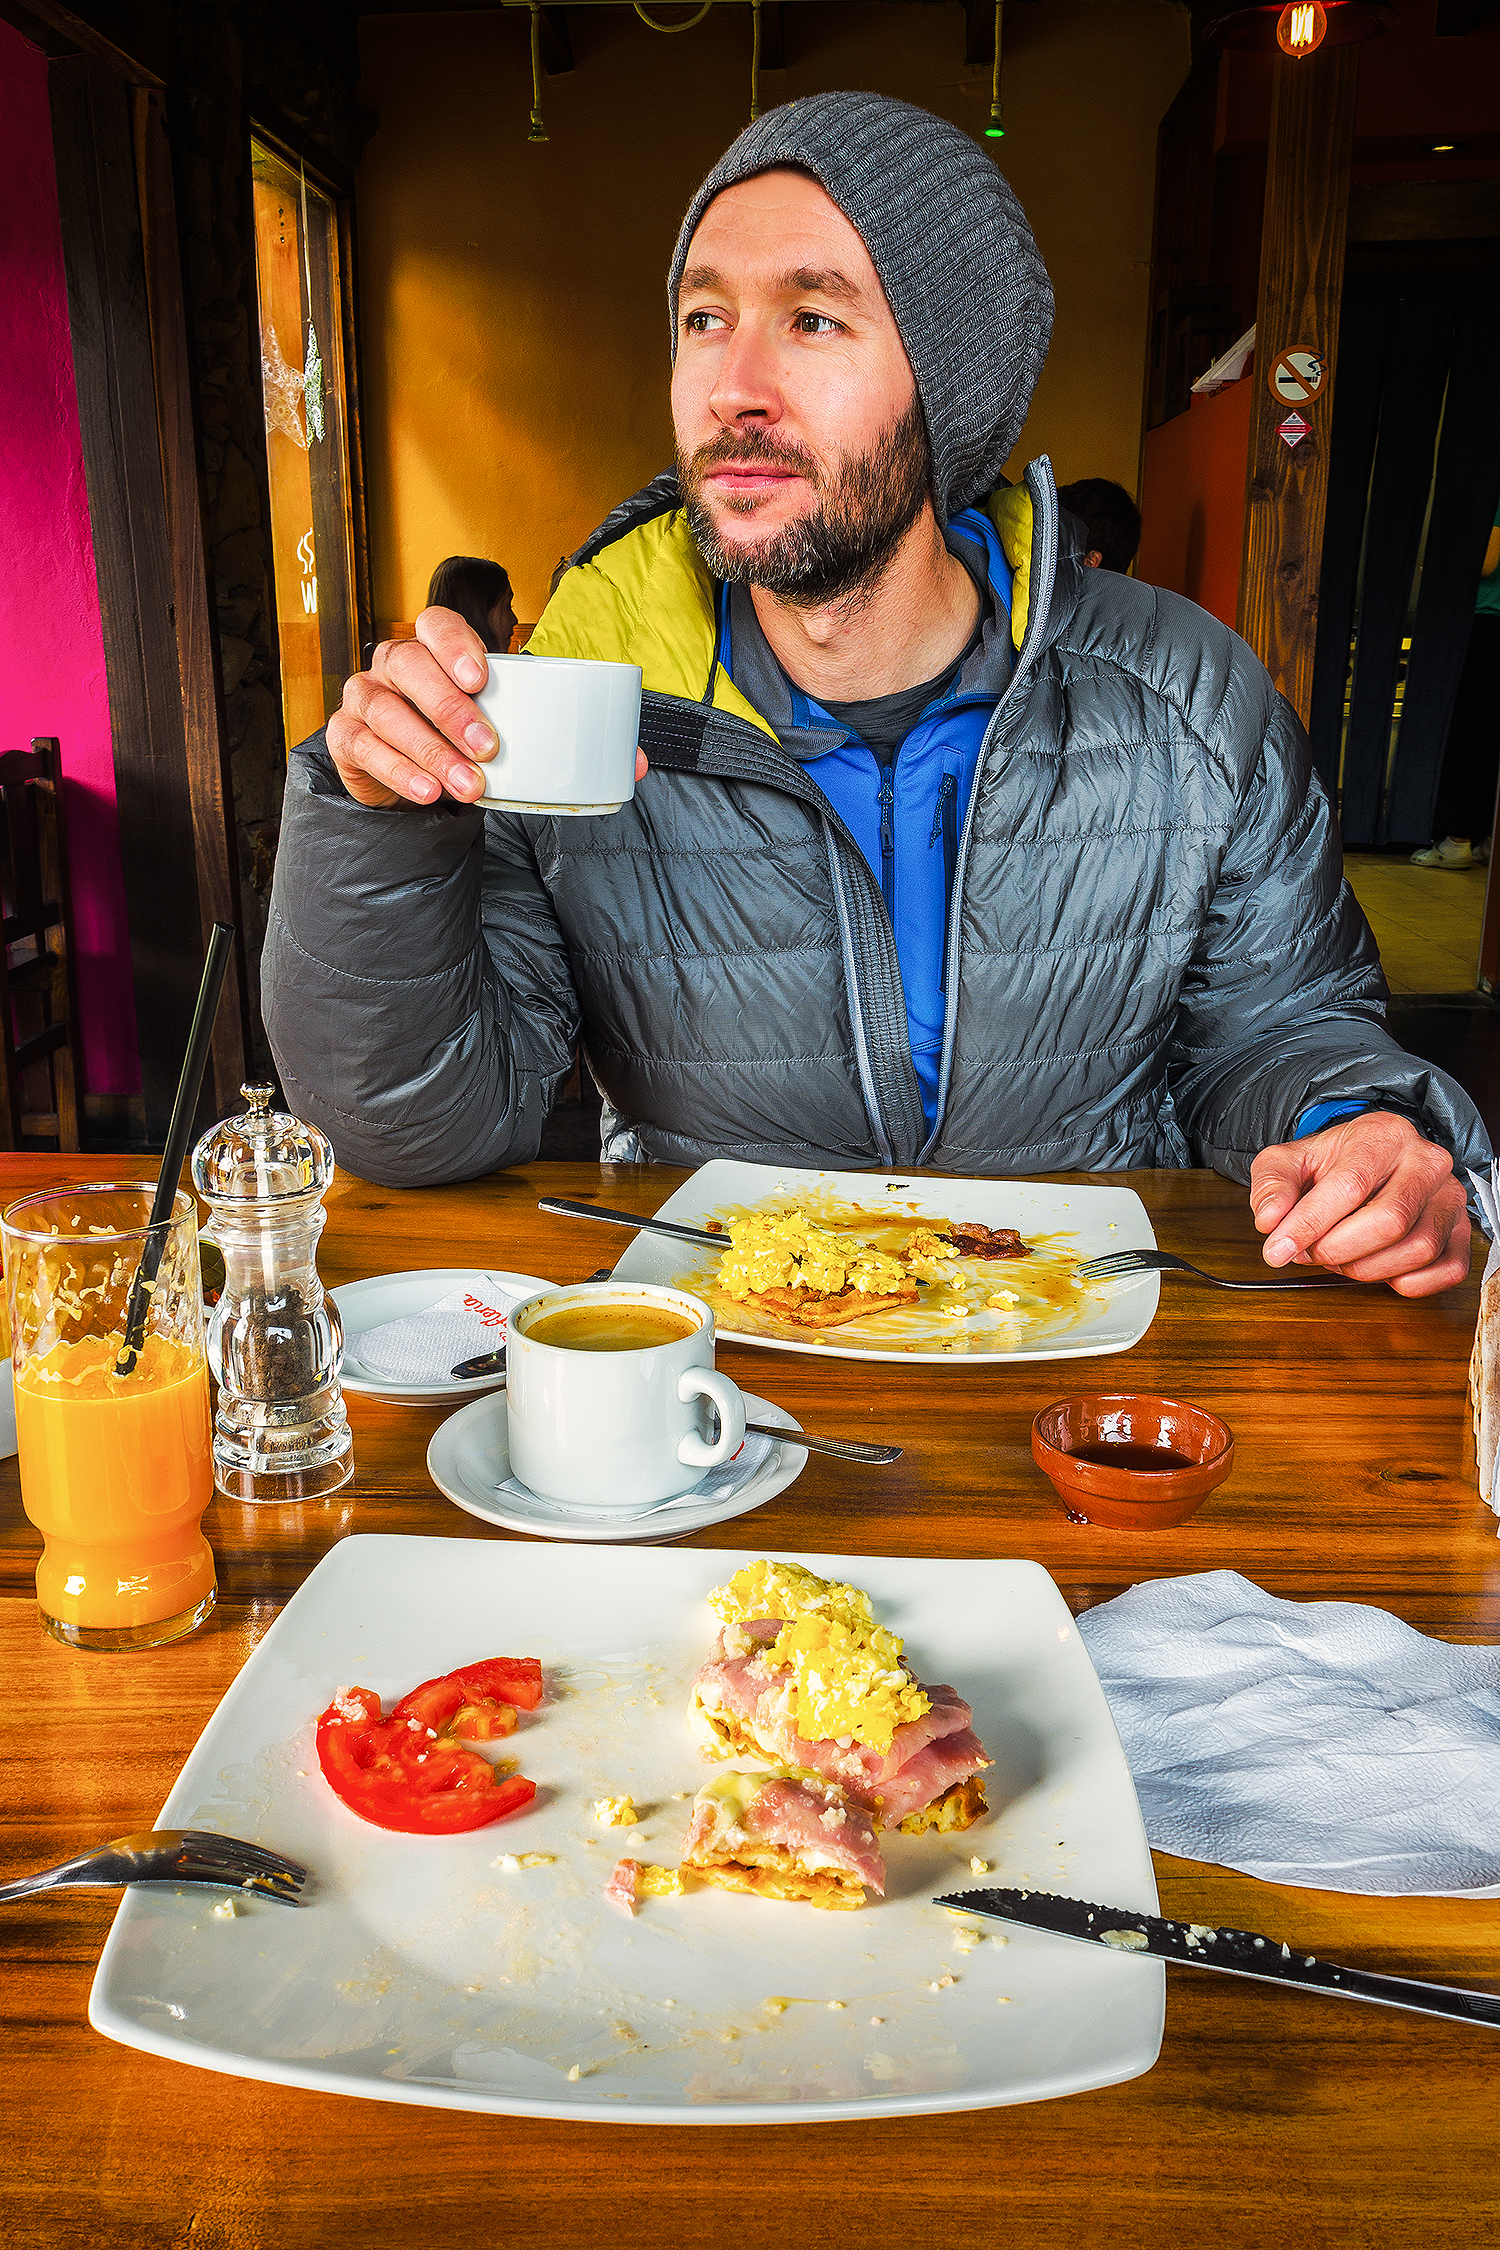
We also each had a “lifestraw go” bottle. These are great as they don’t require any “processing” of the water, you just fill them up and drink. Most water streams in Torres del Paine are potable, but these are just great for any sort of shady water (we used them everyday on our Mexico trip last year, to drink water straight out of the tap). And let’s not forget our tiny coffee filter, which worked great when we wanted some proper ground coffee, rather than the commonly-served instant powdered coffee that is widely distributed down there.
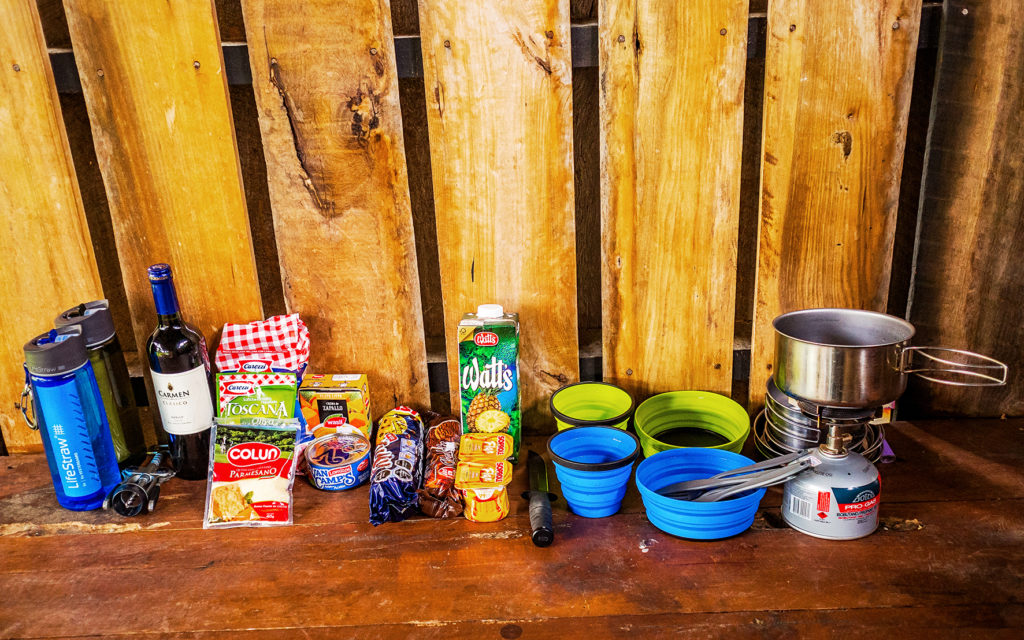
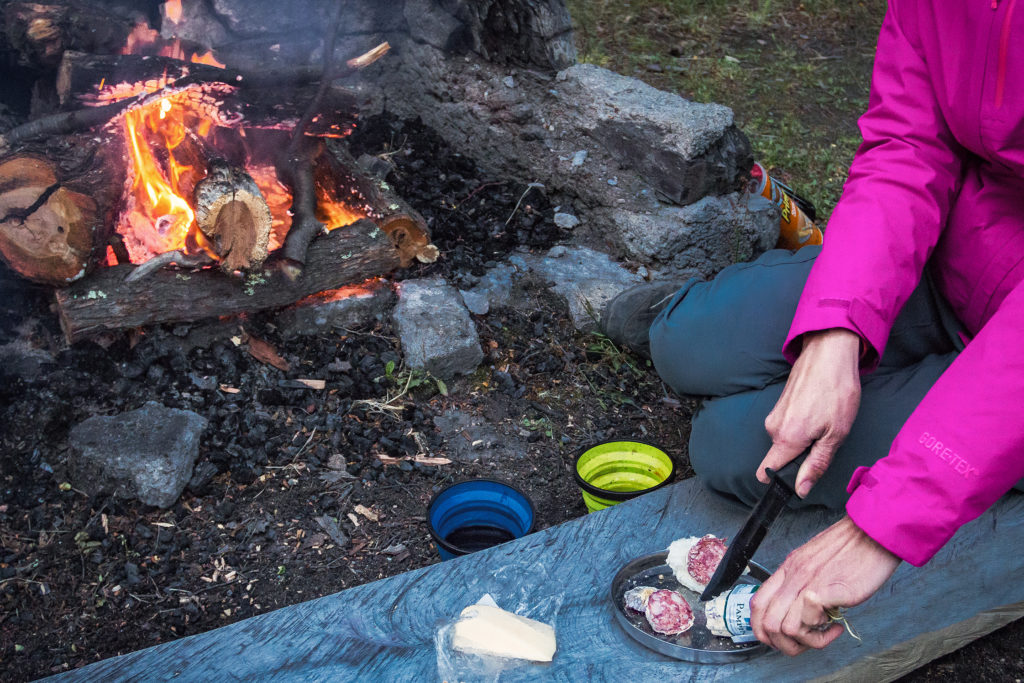
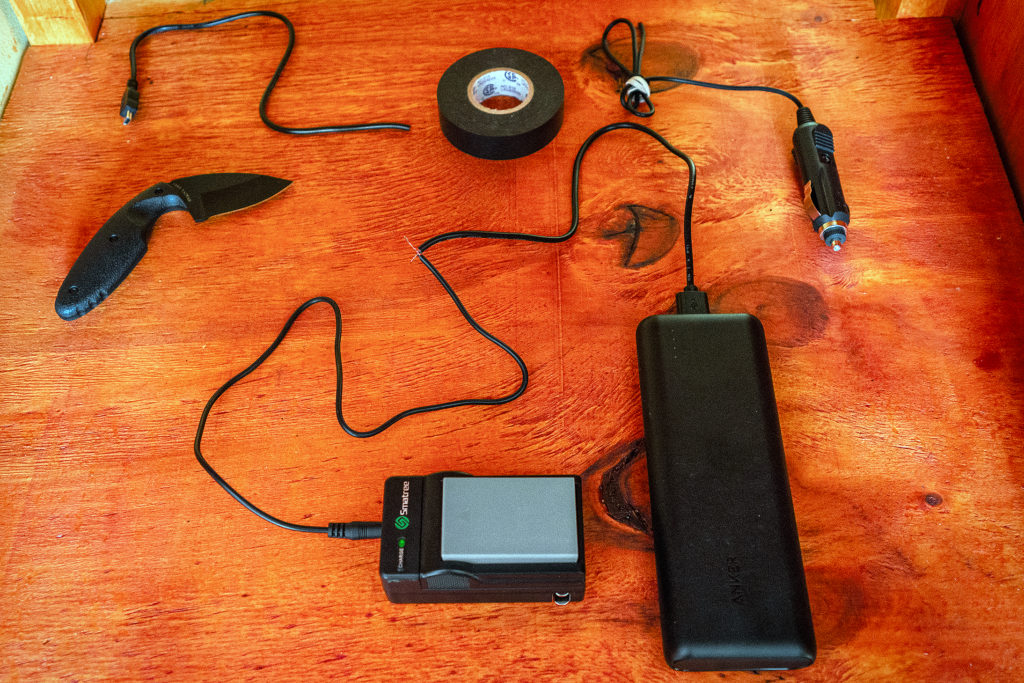
Brice also brought a KA-Bar military grade hunting knife, which served multiple purposes, from chopping wood to slicing saucisson. We brought two head lamps, which we used in Costa Rica but barely ever in Chile, as the days were so long (sun went down after 11pm and was up around 4am).
We also had a couple of extra small bags with us: one lightweight and easily squishable backpack – Brice used it as carry-on for his photo gear on the plane, and it also served as a day pack when hiking on the road.
I used one of those super simple pouches with cords (specifically, Brice’s Squamish 50 swag/drop bag) as a carry on and when we were just walking around towns. We later used it to put food in in Torres. We also brought one small packable dry bag, because you always need some sort of a dry bag, and it was also used to put food in. It might sound like a lot of extra bags, but we found that keeping things compartmentalized this way made taking things in and out of our Osprey packs fast and easy.
Brice of course brought his photo gear – probably the heaviest part of his pack, which included his Canon 5D mark III camera and 2 lenses (plus 6 batteries and tons of memory cards), along with a go-pro. He also carried a variety of cords and cables to be able to charge and connect all of our devices, as well as a small portable battery pack/charger. We were a bit worried about being able to re-charge my camera’s batteries on the Torres trek, but we actually took a lot less pictures then than we did on the rest of the road trip, and the battery lasted much longer. Just in case though, Brice ended up engineering a cable from two different ones, to be able to connect my battery charger to his portable battery pack via usb.
I brought my small Olympus mirror-less camera, a great size and weight for this kind of trip, with 17mm lens (equivalent to a 34mm in full frame DSLR world). It turned out to be a great little back-up camera, especially when Brice’s DSLR died on day 2 of our road trip. That’s right, every photo taken after that day was shot with my little Olympus camera.
I had my camera on a strap most of the way, which I didn’t love as it tended to dangle around too much. Fortunately, the camera was small enough that I could slip it into one of the stretchy nettings on the side of my pack, and it was easy to take it in and out for photos. I think in the future I would like to try one of those pieces that attaches to your backpack strap, on the front of your shoulder.
So that’s more or less for everything we packed with us for 4 weeks (not including food)! It was pretty cool to see it all laid out on the bed when we did our reset in Puerto Natales, and later see it all packed up into our backpacks. There would be improvements to be made for sure, for weight efficiency, but looking at weight vs variety of situations we needed things for, I think we did ok.
Refuelling
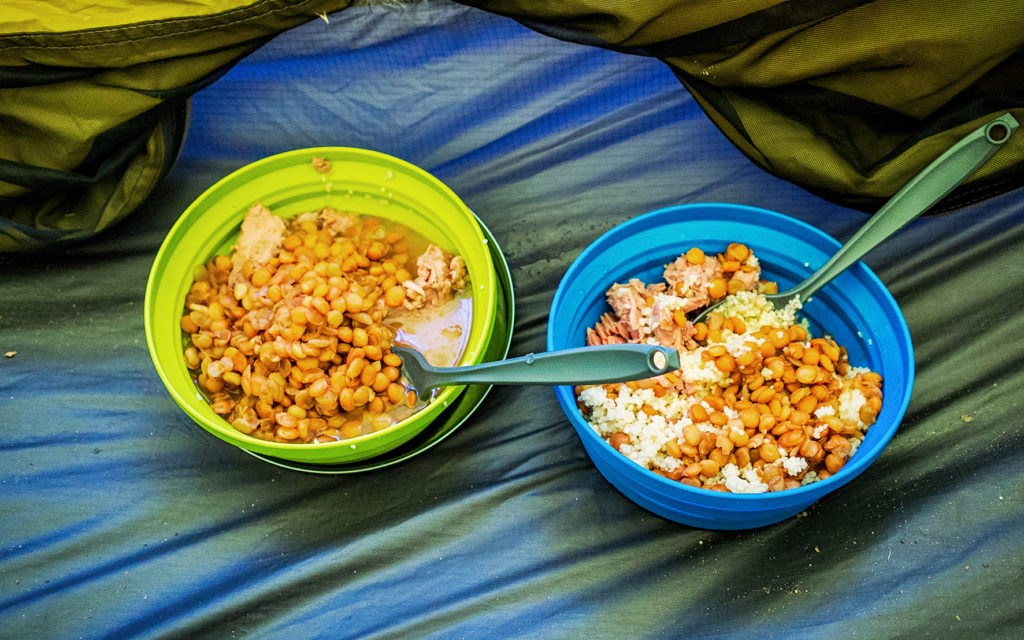
Foodwise, we didn’t have to worry about volume or weight on the road trip portion, so we bought canned fish, pasta and tomato sauce, chips and wine. The Chilean brand “Wasil” had a good selection of beans and vegetables in boxes (like juice boxes) as opposed to cans (lighter to carry and easier to pack away when empty), which we consumed a lot of, along with the single-portion packs of peach or apple sauce. On the trek we resorted to instant noodles and pre-seasoned rice, although the latter took 15-20 minutes to cook which wasn’t very efficient propane-wise. A lot of hikers had de-hydrated meals with them, purchased from more specialized hiking stores, but we couldn’t find any of those in the park.
We also ate a LOT of cookies and nut mix (walnuts especially were a good source of calories).

And pound cake. Pound cake was one of the most readily accessible sweet good in the Torres shops and it became our go-to snack while and after hiking. And there might have been one can of squid and mussels that I ate with great delight on one of our last days in Chile, while Brice looked at me with a half-disgusted, half-amused look. I can’t help it, I just love me some canned seafood…
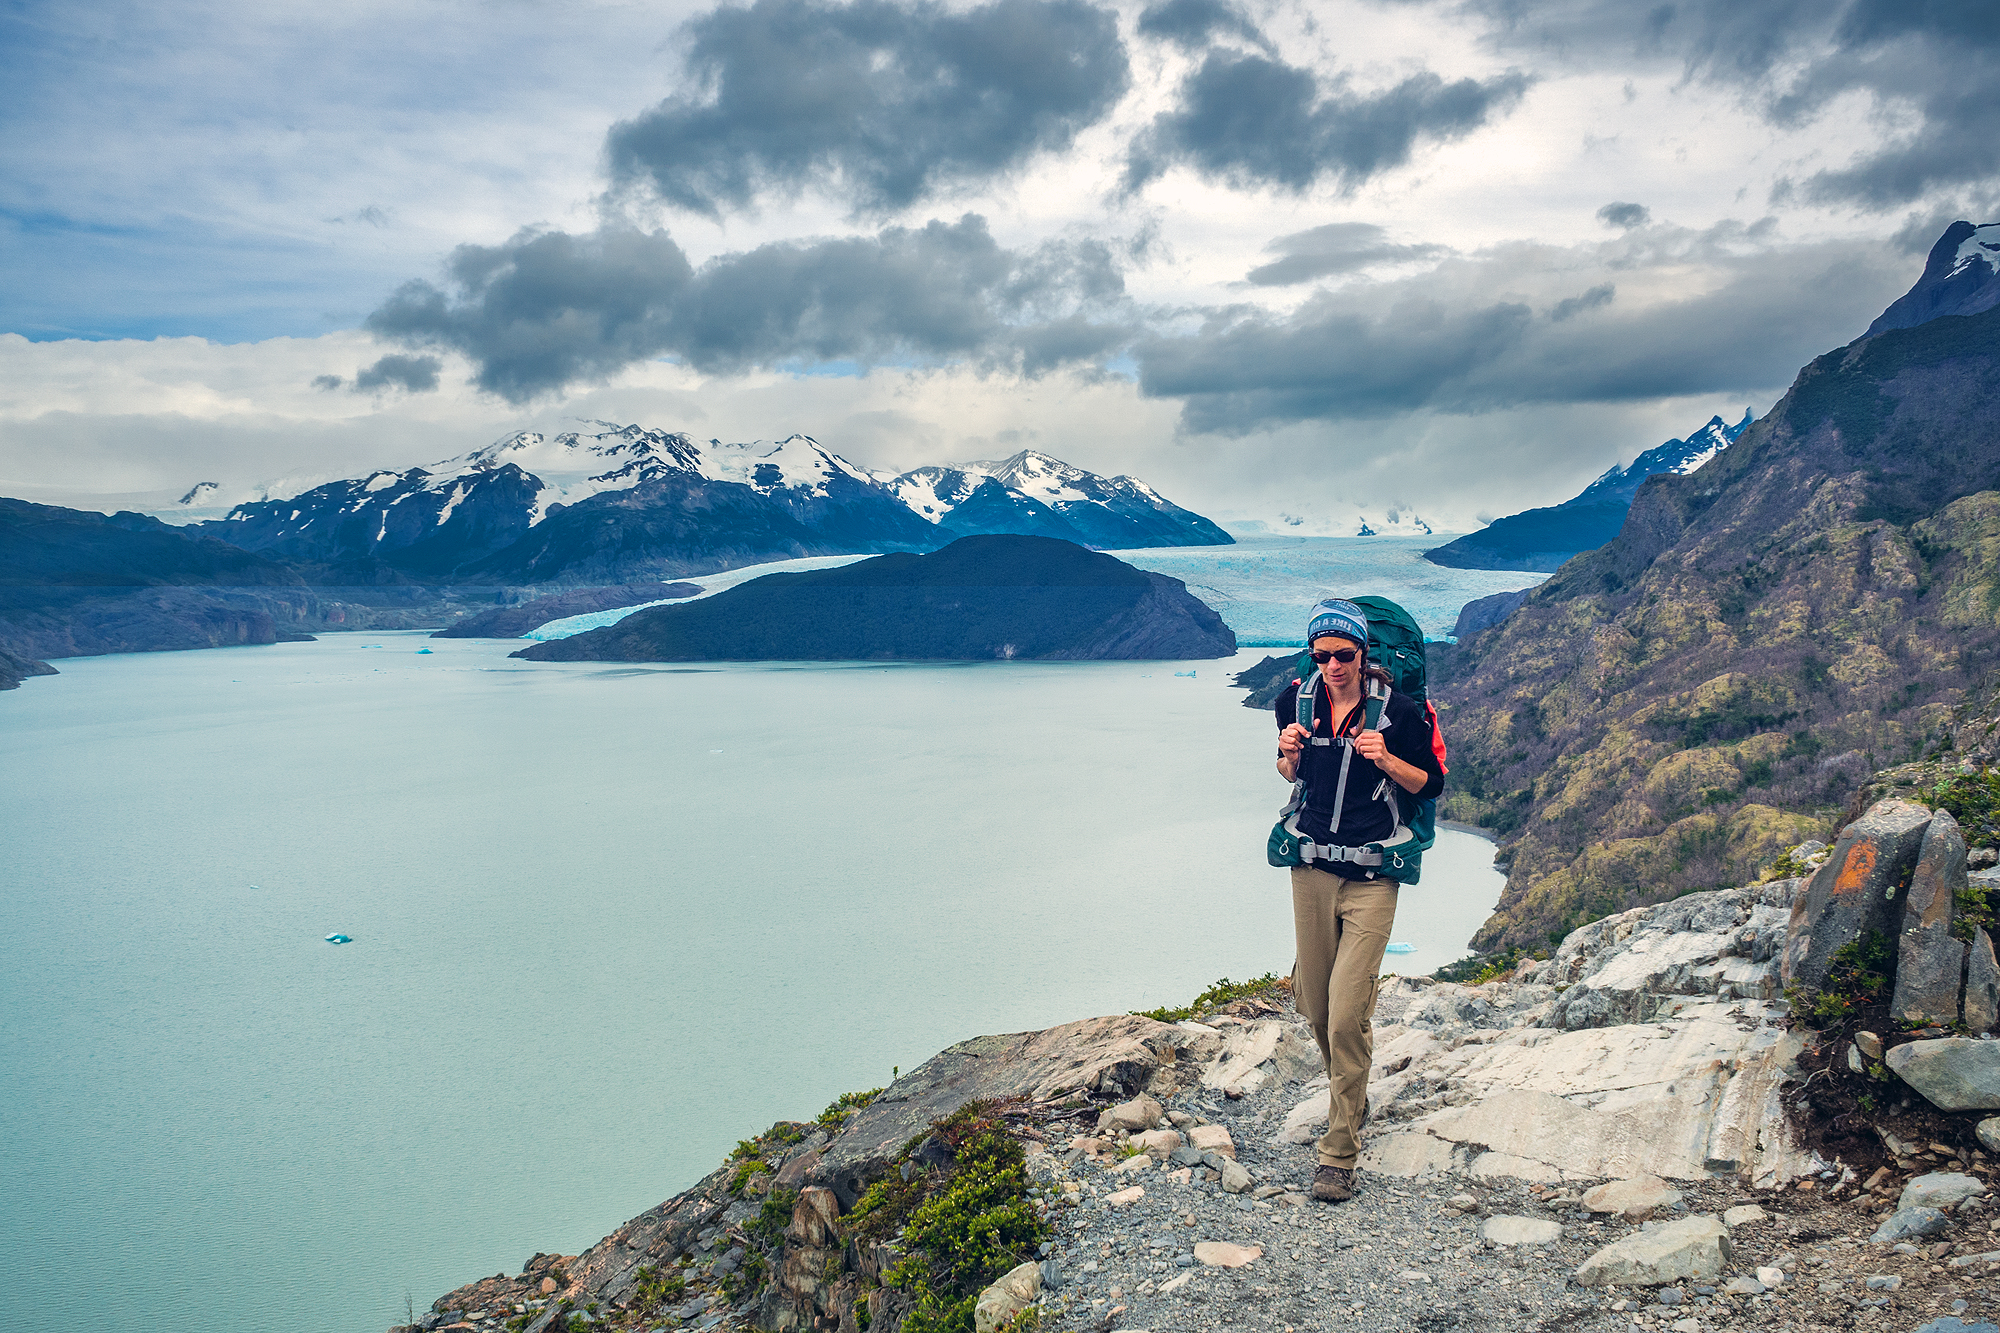
For the trek, we had bought enough food in town to last us 3 or 4 days, as we knew we would be able to refuel in the park. Prices there were pretty outrageous though (understandably so since everything had to be lugged in and out on the trails). We did a re-supply at the Dickson campground, which had a tiny shop but with a good variety of options, then bought more food at the Grey campground (the last night of our trip), mainly because the day had been a pretty intense one and we just wanted to eat everything we could get our hands on….
On the road we rarely ate at restaurants, only on a few occasion, since we were trying to save on that front. That being said, buying food in Patagonia was NOT cheap, so our groceries were probably more expensive that we would normally pay.
So there you have it, a little behind the scenes of the planning and logistics that went into this trip. This wasn’t the first month-long trip we took, but it was definitely one that involved a variety of situations, from road trip, to hiking trek to running & yoga retreat.
Speaking of, we have yet to post about the Costa Rica portion of our journey, but guess what, it’s coming up next!
A little recap of the sites we consulted when planning out trip:
Websites we used to book things ahead:
And apps used to get around: